I recently had the opportunity to work with an older Gerber enVision plotter from a township. I had major difficulties getting the old version of Omega working with their USB licensing stick, and I knew that getting anything like this working on Windows without proper licensing would be an inadvisable, and rocky road ahead.
I decided to look into open source solutions, and I found out that Inkscape can do vinyl plotting with an extension called InkCut.
This tutorial will attempt to comprehensively explain how I got this working. I am by no means an expert, but I found very limited web resources out there on this topic, and I am hopeful that someone will eventually stumble on this article and find it useful.
Background
A simple, free, and open source solution to an expensive and complex problem: How do we plot stuff with our vinyl plotter?
Assumptions
This tutorial will assume that you have some prior experience with the Linux terminal and the Linux desktop. On my test computer, I was working with a clean installation of Ubuntu 12.04 (12.04.1) LTS. However, any Ubuntu or Debian flavor should be acceptable. I am also assuming you have an older Gerber enVision series plotter. If this is not the case, I imagine most of these instructions will apply fairly well to any kind of vinyl plotter.
The Plotter
Here are some photos of the Gerber enVision plotter I was working with.
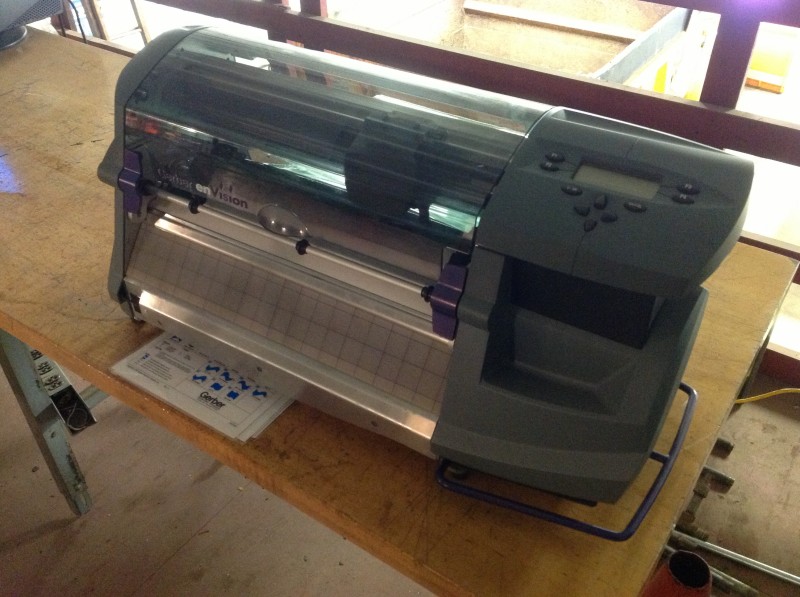
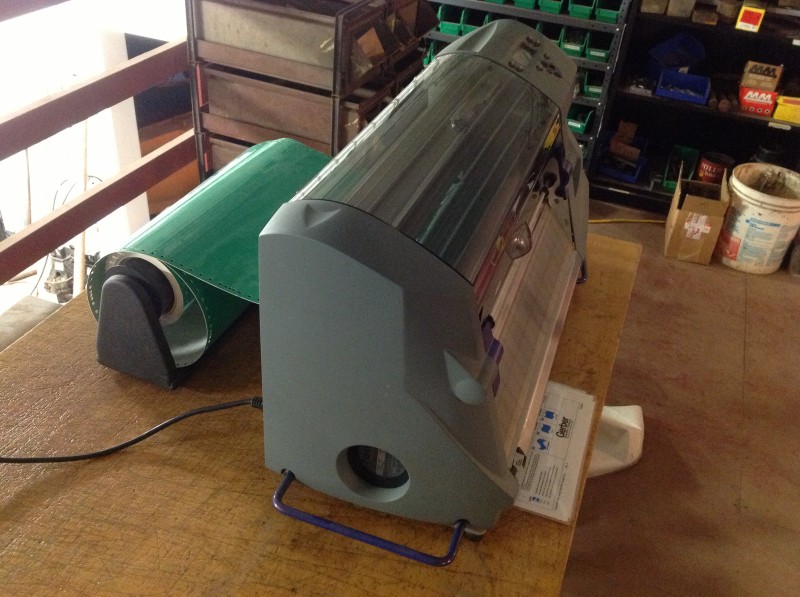
The plotter interfaced with the computer using a serial connection.
Ubuntu & This Plotter
In order to establish proper communications between the computer and the plotter, I had to ensure some things were true. I reset my plotter to the factory default settings, which resulted in a condition where I could assume this about my serial connection:
Baud: 9600
Data Length: 8
Parity: None
Stop Bit: 1
In order to ensure communication with non-root users, I took a questionable approach, and I decided to:
chmod 777 /dev/ttyS0
This did not need to be a very secure environment (we didn’t even password protect the workstation’s desktop) so I figured this would be a reasonable approach, rather than troubleshooting why CUPS was getting permission denied errors while printing to the serial port.
Configure The Plotter In CUPS
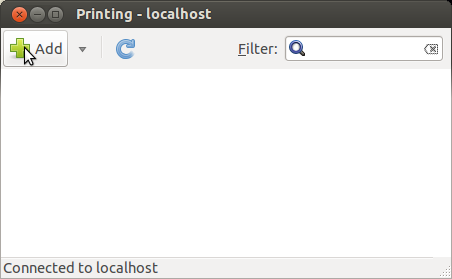
To install this plotter in CUPS, you’ll want to open up your Printer configuration area from the System menu.
Click “Add” to add a printer.
If you don’t have the option for “Serial Port #1”, then use the Device URI “serial:/dev/ttyS0“.
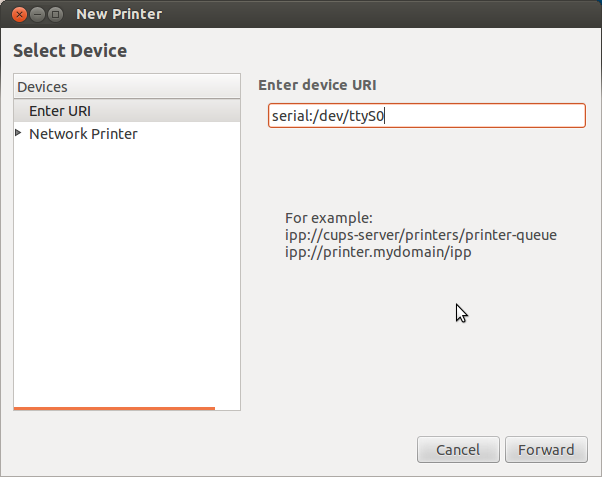
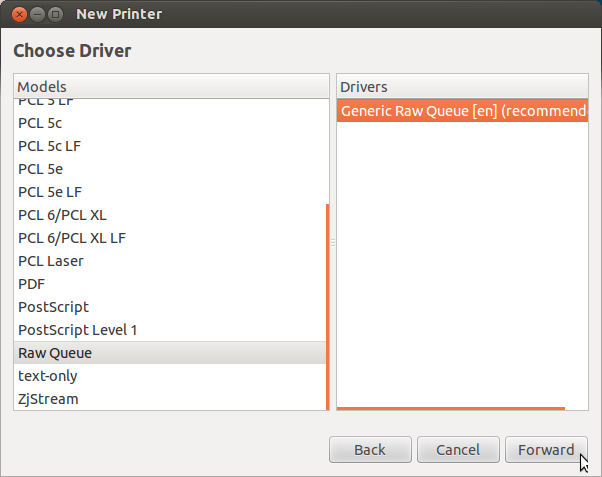
You will want to select Generic as the make of printer.
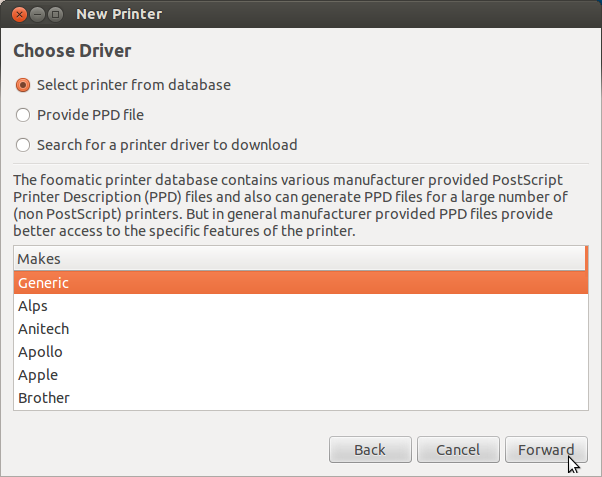
Then, select “Raw Queue” This will work with InkCut providing the HPGL instructions.
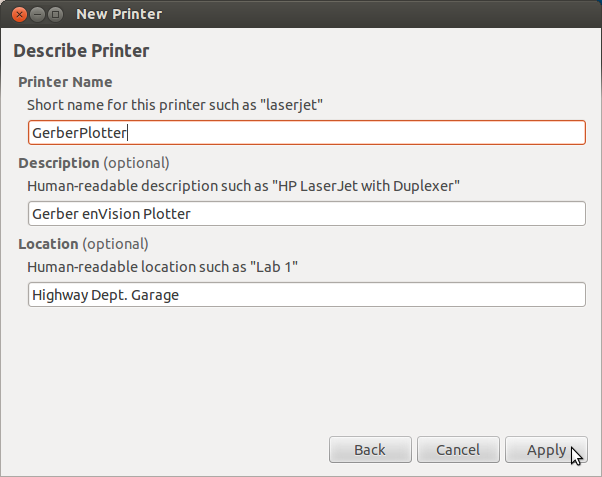
Obviously, it doesn’t matter what you name your plotter, or what description you give it, just give it something that makes sense.
Install Inkscape
Next, we want to install Inkscape. You can do this from Apt on Ubuntu, as such:
sudo apt-get install inkscape
Once you’re done with the installation, start Inkscape for the first time. This will create blank default configuration folders in your profile which are necessary for the next step.
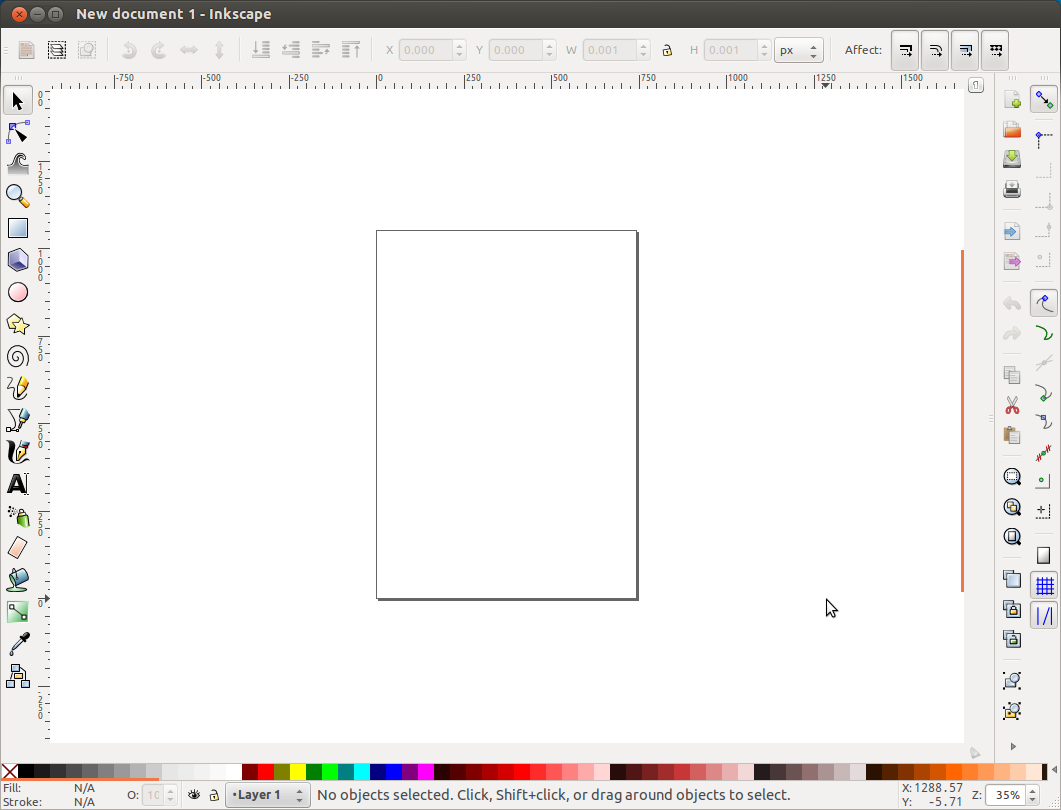
Then, go ahead and close Inkscape, and move on to installing InkCut!
Install InkCut
You can download the latest version of InkCut from their website. At the time of this writing, the version is 1.0, and can be found here.
Once you’ve downloaded InkCut, go ahead and extract the file using this command. It will put the files right where they need to be for you!
tar -xzvf InkCut-1.0.tar.gz -C ~/.config/inkscape/extensions/
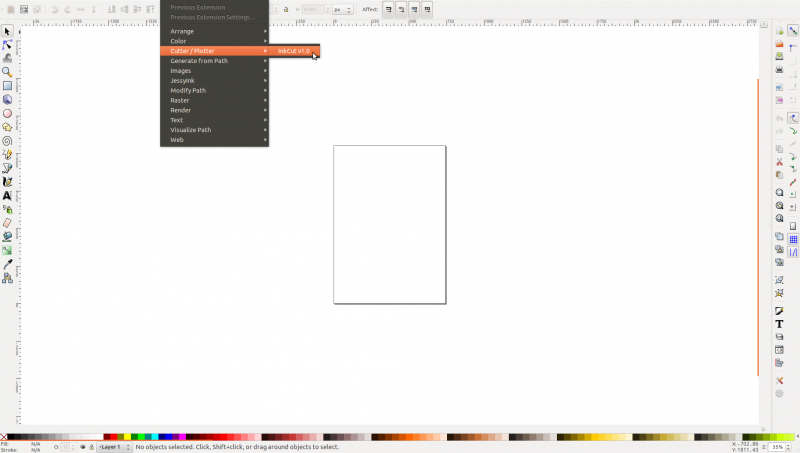
Now, when you start Inkscape, you should see InkCut on the Extensions menu, under Cutter/Plotter.
Screencast How-To’s
I have also created some screencasts to explain how to set up the document for your plotter, as well as how to plot some basic text.
Document Setup – Screencast
(Download OGV)
Let’s Plot Some Text! – Screencast
(Download OGV)
Remember, when plotting your text, you need to make sure your objects are converted to paths, by highlighting your text and going to Path > Object To Path. You also want to make sure your paths aren’t grouped, by right clicking each block of text and clicking Ungroup.
Then you should be good to go to Extensions > Cutter/Plotter > InkCut v1.0 and start plotting!
Recent Comments