Background
Zimbra Collaboration Suite is a fantastic email and collaboration solution made by VMware. Zimbra is my email server solution of choice, because it’s very easy to setup, and the features you get are unmatched by other open source email solutions. Ubuntu 12.04 is the current Ubuntu LTS, which will be supported for servers until 2017, so this is a great time to use it on a server you don’t want to have to take offline for frequent updates, like a mail server.
How is Zimbra different from SquirrelMail or RoundCube?
Popular open source solutions for webmail are SquirrelMail and RoundCube, which interface with an existing IMAP \ SMTP server to provide webmail access. Zimbra is a fully integrated mail solution, which sets up a POP, IMAP, and SMTP server, and provides HTTP and\or HTTPS webmail out of the box. Zimbra also provides a desktop AJAX, desktop HTML, and mobile HTML access option set. No matter what device you’re on, you can access your webmail in a friendly way.
Other Features of Zimbra
Zimbra offers a number of other features, such as:
- Address Book
- Calendar
- Tasks Management
- File\Document Briefcase
- File\Document\Folder Sharing
- Incoming Email Filtering\Antivirus
- Social Media Integration
You can look at the official list of features, and other information, on Zimbra’s website. This is their page on the Open Source Edition.
Installing Zimbra Collaboration Suite 8.0.2 Open Source Edition on Ubuntu 12.04
If you’ve decided that you’d like to try Zimbra Collaboration Suite, let’s get on to the installation!
Install Dependencies
These packages will be necessary for Zimbra to be installed on your system.
sudo apt-get install netcat libidn11 libpcre3 libgmp3c2 libexpat1 libstdc++6 libperl5.14 sysstat sqlite3
Download Zimbra ZCS
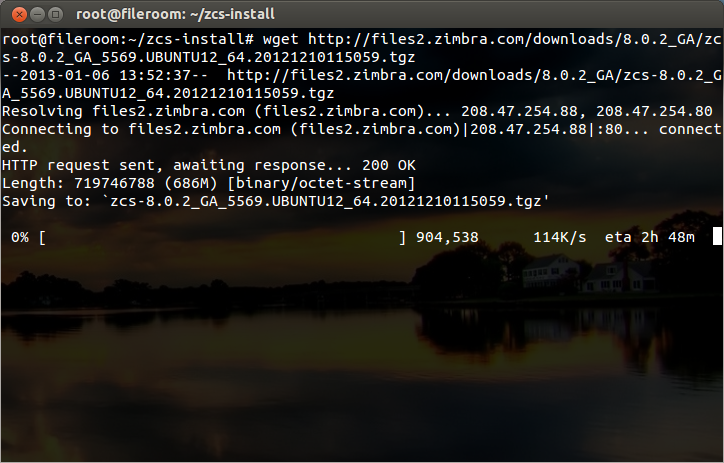
At the time of this writing, you can use the link in the Code box below. As this tutorial ages, and newer versions of Zimbra are released, you will want to go to the download page and get the latest link.
wget http://files2.zimbra.com/downloads/8.0.2_GA/zcs-8.0.2_GA_5569.UBUNTU12_64.20121210115059.tgz
Extract The Downloaded Archive
tar -zxvf zcs-8.0.2_GA_5569.UBUNTU12_64.20121210115059.tgz
Enter The Folder You Extracted
cd zcs-8.0.2_GA_5569.UBUNTU12_64.20121210115059
DNS Configuration
If your DNS was not setup properly, you might get an error like DNS Error resolving yourhostname.com. There is an error which will follow regarding your MX configuration. These errors are OK to ignore, as long as you’re not planning on using your hostname to send\receive email. You can add properly configured domains later.
However, you do want to make sure this domain name can be resolved. Put it in /etc/hosts for 127.0.0.1 if necessary. If you do not do this, you will encounter an error during the final setup stage.
Run The Installer
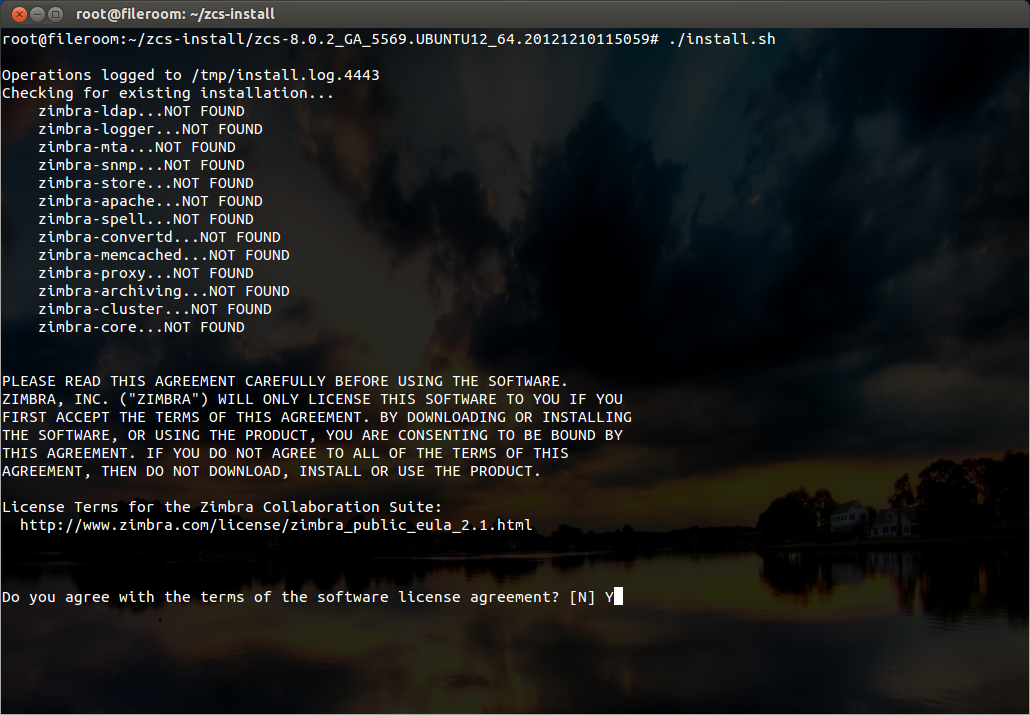
./install.sh
Press Y and hit enter to agree to the license agreement.
Now, if you installed all the dependencies at the start of this tutorial, you should have everything you need!
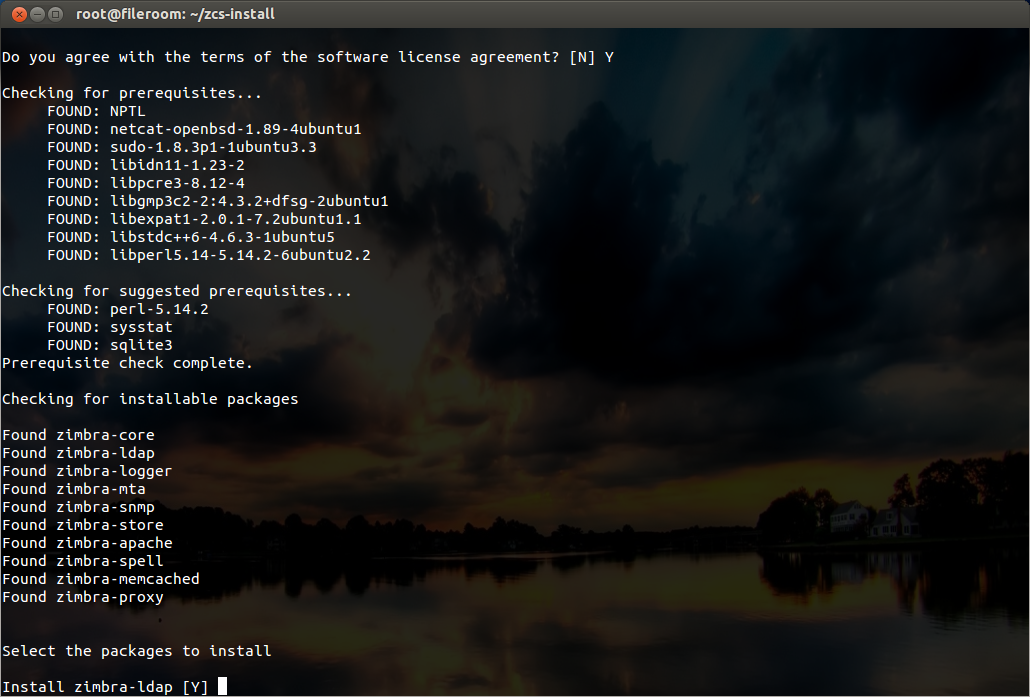
If you aren’t sure what you want to install, then just install the items as suggested.
zimbra-ldap – Yes
zimbra-logger – Yes
zimbra-mta – Yes
zimbra-snmp – Yes
zimbra-store – Yes
zimbra-apache – Yes
zimbra-spell – Yes
zimbra-memcached – No
zimbra-proxy – No
When asked if you want to continue, press Y and hit enter to proceed with the installation.
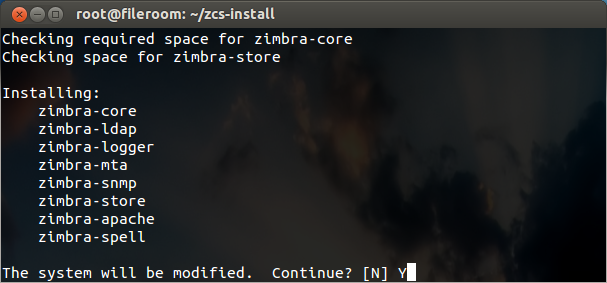
The Zimbra installer will take care of extracting and installing the packages for you. This part of the process might take some time, depending on the speed of your machine.
Configuration Menu
Go through all of the items on the configuration and make sure they are what you want. I like to make sure these options are set:
Don’t stress out about the domain names too much, you can add additional domains to your email server later, very easily.
- Common Configuration > Hostname\Ldap Master Host — Should be your server’s main domain, like mydomain.com.
- Common Configuration > LDAP Admin Password — The administrative password for Zimbra’s LDAP Server. Make it something you’ll remember if you ever think you’ll want to integrate anything with the built-in LDAP later.
- LDAP > Domain To Create — Should be your server’s main domain, like mydomain.com.
- LDAP > LDAP Root\Replication\Postfix\Amavis\Nginx\Bes Searcher Passwords — I like to change these too.
- Zimbra Store > Admin User\Password — These will be used to login to the Zimbra Admin Area.
- Zimbra Store > Spell Server URL — Make sure this is a web address that can be accessed, it will be used when people press Spell Check.
- Zimbra Store > SMTP Host — Should be your server’s main domain, like mydomain.com.
- Zimbra Store > Version Update Email Addresses — Should be an email address for an administrator.
When you’re satisfied with all of your settings, press “S” and hit enter to write your settings to the configuration file. The default file location is fine. Then press “A” and hit enter to apply your settings and start the server!
Zimbra will ask you to confirm the changes to your system. Type “Yes” and hit enter.
Zimbra will now run through an installation procedure, which may take a few minutes, depending on the speed of your machine.
If all went well, Zimbra is now installed on your server. If it didn’t, you will be given a log file location, where you can look and see what might have gone wrong.
Firewall Rules
Hopefully your server has, or is at least behind, a firewall solution. If so, these are the ports you should definitely be unblocking for the proper use of your server. These ports are assuming you’re running a default configuration, and you did not change your ports during the setup procedure.
Webmail: 80/tcp for standard access, 443/tcp for encrypted access.
Administration Console: 7071/tcp (can be blocked in the firewall if you only plan to do administration over VPN, locally, etc)
Aspell: 7780/tcp (Zimbra runs a spell check server on this custom port, which users will access when they press the Spell Check button on the web interface)
SMTP: 25/tcp for standard access, 465/tcp for encrypted access.
POP: 110/tcp for standard access, 995/tcp for encrypted access.
IMAP: 143/tcp for standard access, 993/tcp for encrypted access.
Accessing Your Zimbra Server
You can login to your Zimbra accounts for webmail access at your Zimbra server’s IP or DNS on the standard https port 443. You can access your Administration Console over HTTPS using port 7071.
Point your web browser to http://your.zimbra.server.ip:7071/
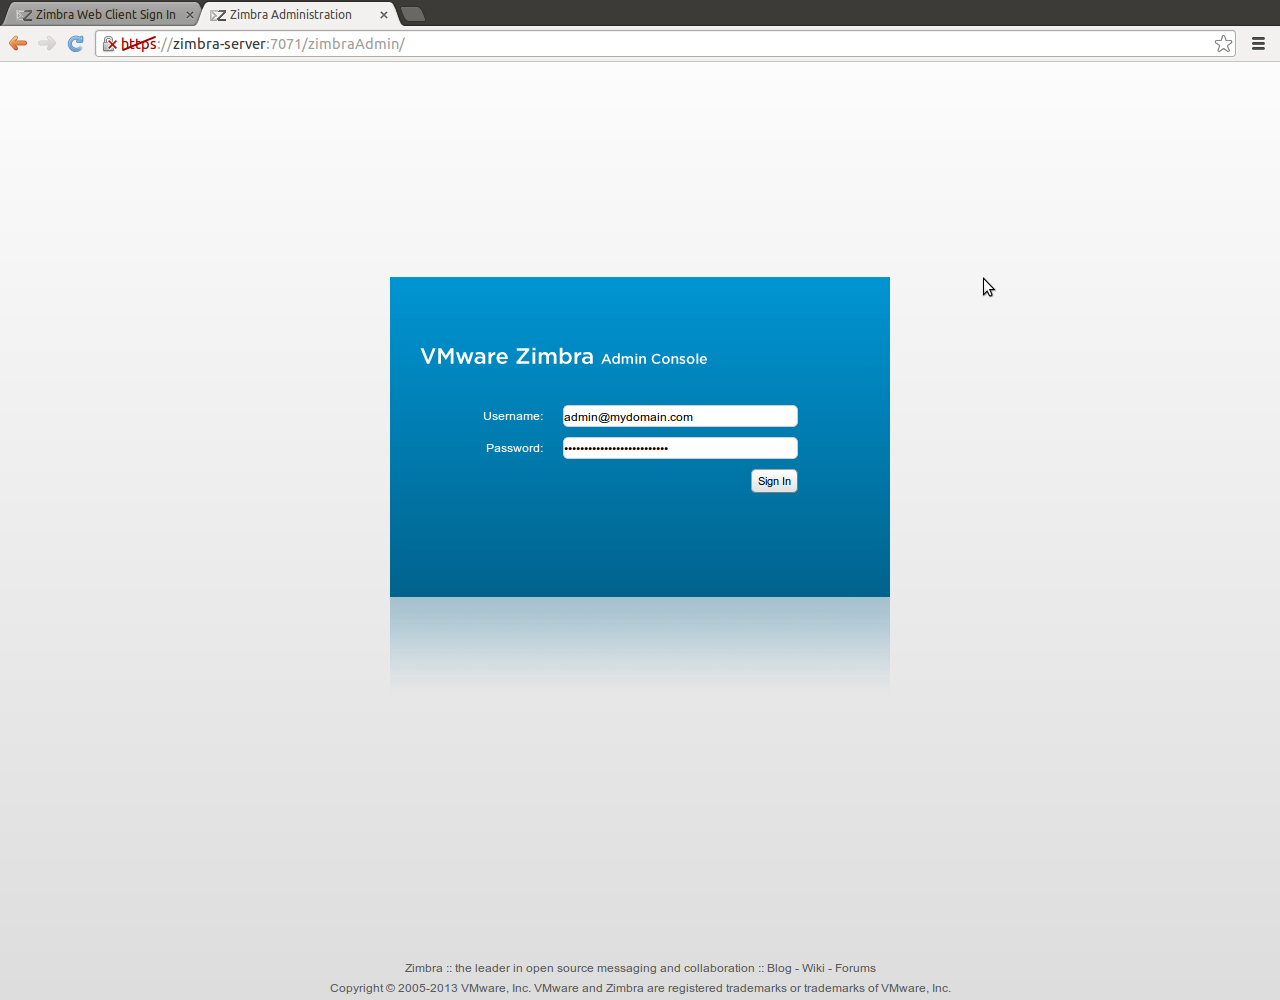
Once you’re logged in, your admin interface will look something like this.
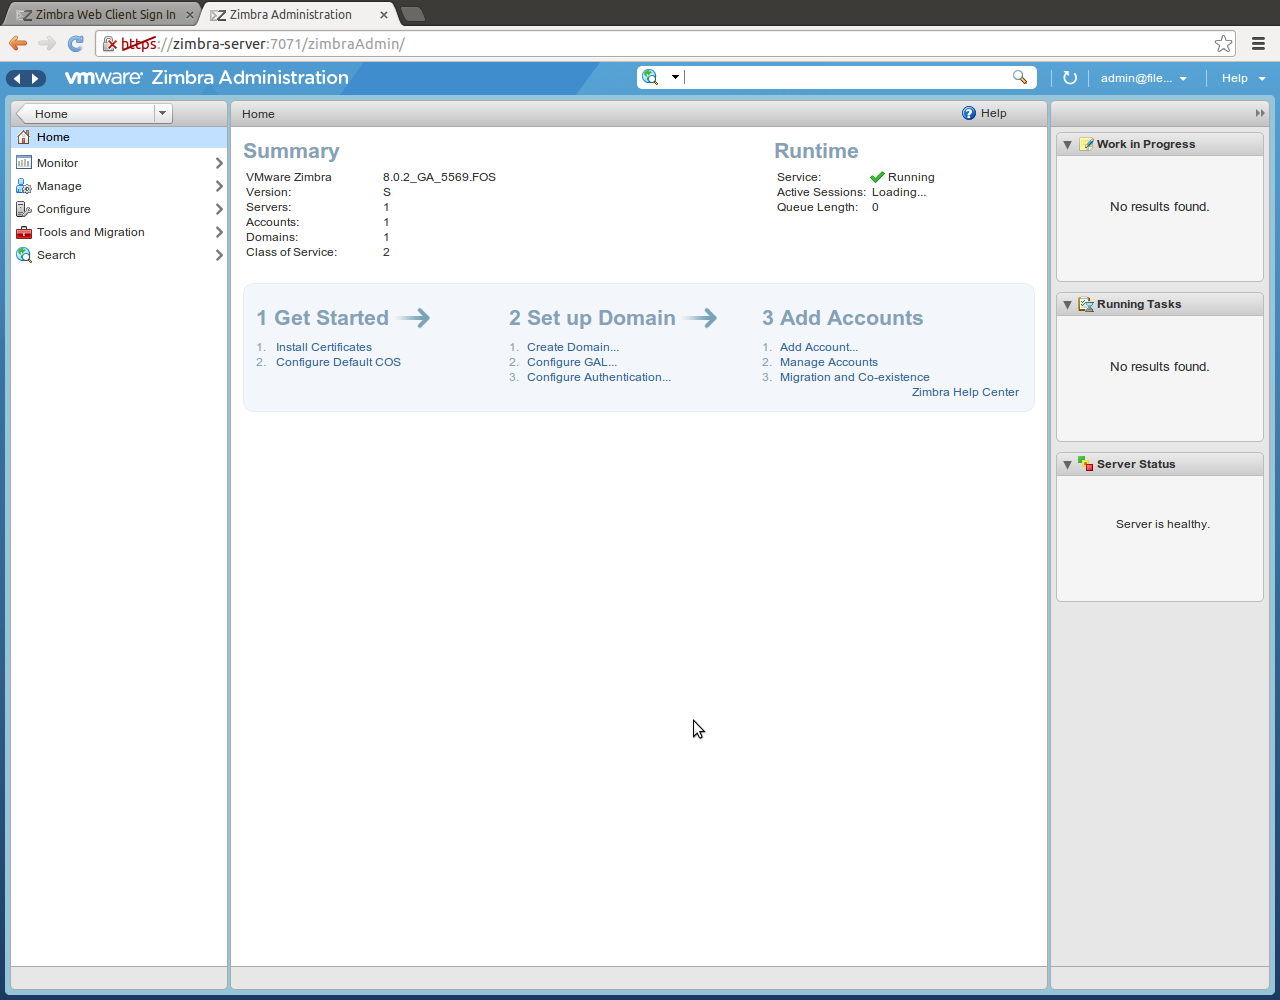
The Zimbra setup procedures in the web interface are very straightforward, and are up to you to play with on your own now that Zimbra is installed and working!
Thanks for a great step-by-step guide! I’m testing it out in a VMware session, though, and not getting past the initial hosts file check …
-Kevin
The order of your /etc/hosts file is very important, as Zimbra parses the file to determine if your hostname is fully qualified.
The best way I have found to cheat and get your hostname to be fully qualified (even if it isn’t) is to edit your /etc/hosts file and put the hostname first after 127.0.0.1, before localhost.
For example:
127.0.0.1 mail.myawesomeserver.com localhost
Try that… if that does not work, I would be happy to continue to try to help.
Hi! awesome tutorial, so first a big thanks!
I have the same problem about the hosts file…I edited and I have as first row
127.0.0.1 ubuntu-server.local localhost
is it wrong?
thanks!
I forgot to tell you that I’m trying to install Zimbra on Ubuntu Server + Xubuntu GUI on Virtualbox…
I tried to add my virtualbox generated ip instead of server name with no result…
I must admit I’m a linux noob 😀
Fabrizio, what is your public hostname you are using for your mail server?
I’m going to go out on a limb and assume it is not “localhost” or “ubuntu-server.local”. It’s probably “ubuntu-server.com” or “mail.yourdomain.com” etc… right? That’s what you need to put in your hosts file.
Keep in mind, my mail server actually has a qualified forward\reverse DNS. If yours does not, you may need to use my 127.0.0.1 cheat in my comment above.
On my production Zimbra server, my hosts file’s first line is:
MY.PUB.LIC.IP hostname.domain.com hostname
For example:
94.23.183.104 binaryimpulse.com binaryimpulse
I’m not sure what you’re trying to achieve with your system in VirtualBox, but if you want to use it on the outside Internet, I would use your outside IP address rather than the VirtualBox IP address.
Thanks!
Simply want to test it before using it for real on the real server
So after consideration it seems that I need an mx record for my Virtualbox…or I want to be more precise with 2 questions:
1. how can I fake this 127.0.0.1 localhost.localdomain localhost to make zimbra installer work?
2. where do I get localhost.localdomain and localhost if this virtualbox is just a test in my home network with a dynamic ip and no mx (I have a dns for my ip btw that I get through mxtoolbox.com)
I’m sorry to bother but I decided to try the adventure without being a linux master, I learned 5 minutes ago how to use tab tab command to get suggestions for commands when I use the terminal 😀
So take me as a noob if you can 🙂
thank you again!
You can probably use the hosts file cheat to get Zimbra installed, but without proper outside DNS as well as proper port forwarding in your router firewall to your mail server VM, do not expect to be able to receive any email on your test server.
If you just want to get Zimbra running, play with the admin panel and interface, and not necessarily try out the email sending\receiving features, you can set up your test server using my hosts file cheat. (Sending emails might work, but a lot of email services might deny your email if it’s coming from a residential IP, or because your reverse DNS doesn’t resolve properly.) The MX record is instrumental in receiving emails from any outside mail server, so without that, you will never receive an email on your Zimbra server.
That being said, you can edit your /etc/hosts file (sudo nano /etc/hosts) and add the line:
192.168.1.5 mail.domain.com domain.com
Where 192.168.1.5 is the LAN IP of your mail server, and mail.domain.com is the hostname you want to set up for your mail server.
You can find a discussion on this topic here as well: (albeit, this topic is a little dated)
http://www.zimbra.com/forums/installation/37264-fix-your-hosts-file-installing-zimbra-ubuntu-8-04-a.html
If you still need some assistance, feel free to ask. Just make sure whatever domain you’re putting in for your Zimbra installation will resolve back to your server. Test this by running the command ping mail.domain.com and making sure your server’s correct IP address responds. If this works, chances are, Zimbra will stop complaining and will let you install. You’ll still get the error about the missing MX record, but unless you need to be able to receive emails on your test server, you can go ahead and ignore that error.
I read the guide, seems more clear now on where I have to look for solutions in terms of linux files, but I think I don’t catch the hole thing, in fact the last post of that link you sent me is not 100% clear to me.
let me give you some output from cat /etc/hosts
10.0.2.15 carsolutionsrl.it carsolutionsrl.it
# The following lines are desirable for IPv6 capable hosts
::1 ip6-localhost ip6-loopback
fe00::0 ip6-localnet
ff00::0 ip6-mcastprefix
ff02::1 ip6-allnodes
ff02::2 ip6-allrouters
where carsolutionsrl.it is my “hostname -f” and carsolutionsrl.it is my “hostname” (from the link you sent me), as you can see I’m trying your format “192.168.1.5 mail.domain.com domain.com” with that 10.0.etc that is my lan ip given by virtualbox.
cat /etc/resolv.conf
# Dynamic resolv.conf(5) file for glibc resolver(3) generated by resolvconf(8)
# DO NOT EDIT THIS FILE BY HAND — YOUR CHANGES WILL BE OVERWRITTEN
nameserver 10.0.2.15
search carsolutionsrl.it
ifconfig
eth0 Link encap:Ethernet IndirizzoHW 08:00:27:e9:57:d8
indirizzo inet:10.0.2.15 Bcast:10.0.2.255 Maschera:255.255.255.0
indirizzo inet6: fe80::a00:27ff:fee9:57d8/64 Scope:Link
UP BROADCAST RUNNING MULTICAST MTU:1500 Metric:1
RX packets:5885 errors:0 dropped:0 overruns:0 frame:0
TX packets:3532 errors:0 dropped:0 overruns:0 carrier:0
collisioni:0 txqueuelen:1000
Byte RX:5242285 (5.2 MB) Byte TX:360163 (360.1 KB)
lo Link encap:Loopback locale
indirizzo inet:127.0.0.1 Maschera:255.0.0.0
indirizzo inet6: ::1/128 Scope:Host
UP LOOPBACK RUNNING MTU:16436 Metric:1
RX packets:110 errors:0 dropped:0 overruns:0 frame:0
TX packets:110 errors:0 dropped:0 overruns:0 carrier:0
collisioni:0 txqueuelen:0
Byte RX:13189 (13.1 KB) Byte TX:13189 (13.1 KB)
I don’t have a clue on how named.conf works sincerely…
So are these elements helpful? maybe I’m choosing the wrong combination of them?
I have a domain name for a website without a hosting that I’m not using atm, so maybe I can try to use that with a custom mx.
Please let me know if I need to give you more outputs 🙂
really many thanks!
Why do you have the domain in /etc/hosts twice?
10.0.2.15 carsolutionsrl.it carsolutionsrl.it
Change that line to:
10.0.2.15 carsolutionsrl.it
Is that the domain you’re putting into Zimbra’s setup script as the mail server’s primary domain? Are you still getting the error?
Ok I’ve solved by editing the hosts file this way:
127.0.0.1 localhost.localdomain localhost
127.0.1.1 servercs-ubuntu
192.168.1.215 servercs-ubuntu.homenet.telecomitalia.it servercs-ubuntu
also edited sudo nano hostname to set hostname this:
servercs-ubuntu.homenet.telecomitalia.it
so if you do hostname -f you get: servercs-ubuntu.homenet.telecomitalia.it
and hostname -s you get servercs-ubuntu
Setting Bridge connection on Network settings of the VM is a must (for me)
Now I can install Zimbra, with the latest version is required also the pax package and the Mail server (precisely postfix) must not be installed otherwise you have to quit the installation to do install the first and remove the second.
Last problem: I set the VM disk of 10gb and now I don’t have space to install Zimbra XD…I’ll do it again in the weeked on a new ubuntu server VM of 30gb ;)…
really thank you for your precious hints! I hope this Zimbra is an awesome software that can kick our exchange server out because it’s failing in its job every single second! 😀
Cheers
I’m glad to hear that you got everything working! At work, we are also looking at phasing out Microsoft Exchange, but we are planning on moving our staff over to Google Apps. I use Zimbra Collaboration Suite on my personal email server, though, and I love it.
There is a way to resize VM disks. What virtualization platform and virtual disk format are you using? (for example, VirtualBox and VDI, VirtualBox and VMDK, VMWare and VMDK, etc…)
I actually recently had to resize a VMDK file I was using in VirtualBox, and it wasn’t the most straightforward process I have ever encountered, so I had planned on writing a Binary Impulse post on the topic, but haven’t gotten around to it yet. I can try to get that post up shortly if it will help you out!
Hi Kirk Schnable
Wonderful tutorial,
I am trying to install zimbra 8 cluster on ubuntu 12.04 with 3nodes.
Can you please tell me how to proceed or any reading link can you provide so that it would be helpful for me.
Regards,
Vijay
Hey Kirk,
Thanks for a great guide. I’m looking to move away from Google Apps, and Zimbra seems to be a good choice for me. I’ve set everything up, and it all seems to be working, however, in the latter stages of the setup, the script is just sitting at “Creating galsync account for default domain…”
It’s been at this part for over 20 minutes now. Is this normal? I’m obviously going to leave it, but I would have expected it to either error out, or have completed by now.
Thanks,
Kev
Sod’s law, as soon as I hit “send” on this comment, it fails and moves on! Sorry about that. Any idea why this has failed, and is it important/service affecting?
Thanks again.
I’m not sure what the impact might be of not having a galsync account. GAL is the “Global Address List”, so I believe the functionality it provides is maintaining a list of users on your domain for email address autocompletion.
It looks like you might be able to go back in yourself and set up your GAL Sync account by hand.
See: http://wiki.zimbra.com/wiki/GAL_Sync_Account
Unfortunately I can’t say that I’ve ever seen that before, although I’ve only set up a handful of Zimbra servers.
zimbra is mail server only?
Zimbra is mostly a mail server. It has a few other features including contacts, calendar, and a rudimentary file storage system. I suggest you read through their product data sheet if you are unfamiliar with Zimbra, and take a look at some screenshots. https://files.zimbra.com/website/docs/Zimbra%20Collaboration%20Product%20Overview.pdf
Great post.