Background
Wolfenstein Enemy Territory is a free-to-play multiplayer game, based on World War II “Allies vs. Axis” style combat. It is a first-person shooter game, but it has objective-based gameplay. Players will perform tasks such as escorting tanks, stealing gold, repairing radio transmitters and delivering stolen documents to the transmitter, building tank barriers, dynamiting protection walls, and other objectives based on the map. The objective-based gameplay makes Enemy Territory a uniquely fun gaming experience, with the classic FPS aspects gamers crave. Enemy Territory is not one of those games where you look at your kill statistics, you’re too busy defending your objective or advancing on your enemy!
The Goal of This How-To
At the end of this how-to, you should have a vanilla Enemy Territory running. You will be able to install Enemy Territory on a Windows client, connect to the server, and play Enemy Territory online!
Installing The Vanilla Enemy Territory Server
First, we need to download the Linux Enemy Territory game files. It is necessary to install the entire game in order to have a dedicated server, but no GUI is needed, you can do all of this through an SSH session if you choose.
You can obtain Wolfenstein Enemy Territory on various websites on the Internet, but for the purposes of longevity of the links in this how-to, I will use the files hosted on The United Federation of Gaming (as I have control over these files).
Download the game:
wget http://www.unitedfederationofgaming.com/dist/wolfet/linux/et-linux-2.60.x86.zip
Download the latest patch for the game:
wget http://www.unitedfederationofgaming.com/dist/wolfet/linux/ET-2.60b-linux.zip
Extract the Zip files:
unzip et-linux-2.60.x86.zip
unzip ET-2.60b-linux.zip
Make the installer executable:
chmod +x et-linux-2.60.x86.run
Run the installer:
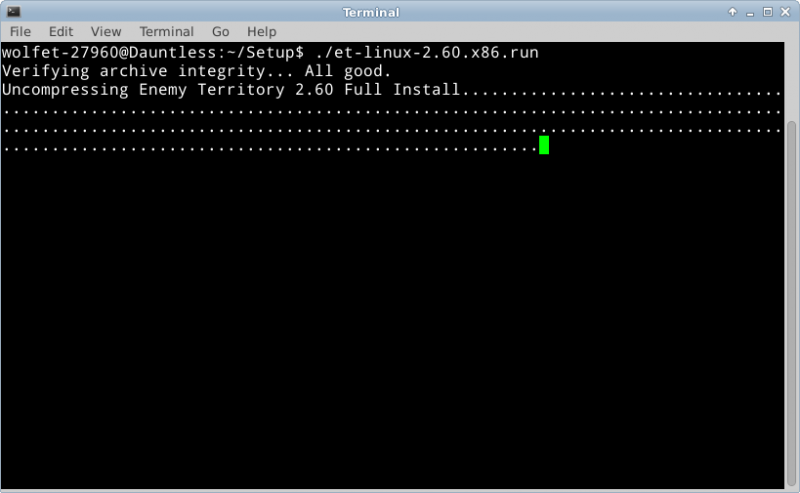
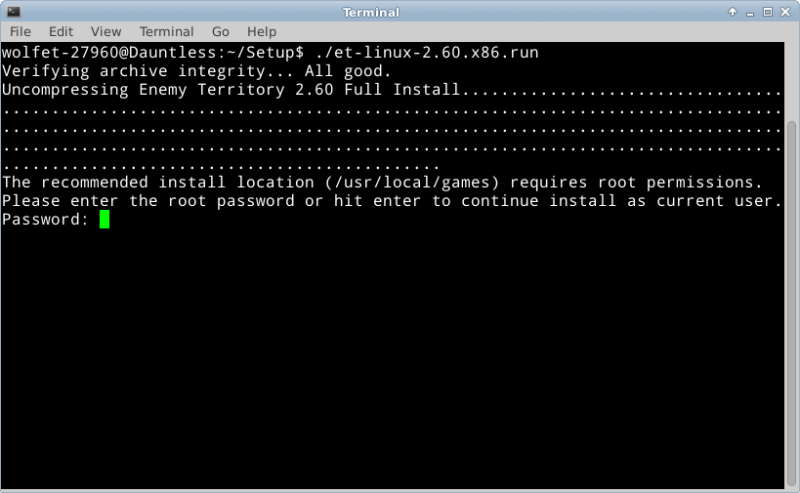
./et-linux-2.60.x86.run
It is okay to continue as a limited user, and install the game in your home folder.
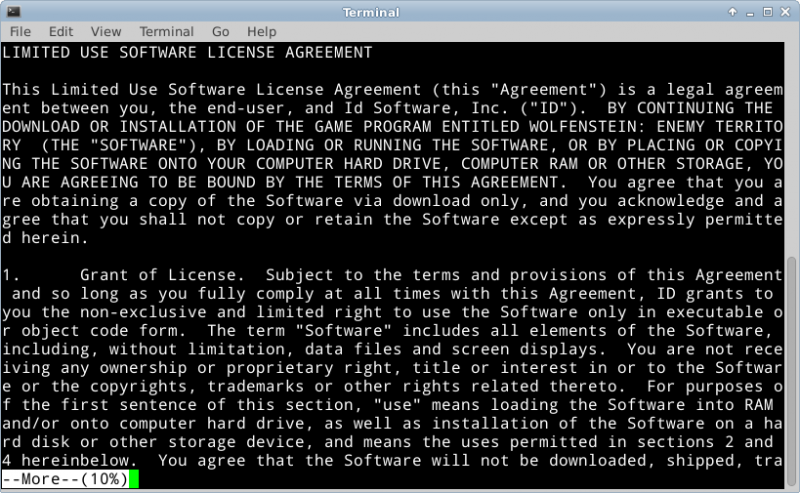
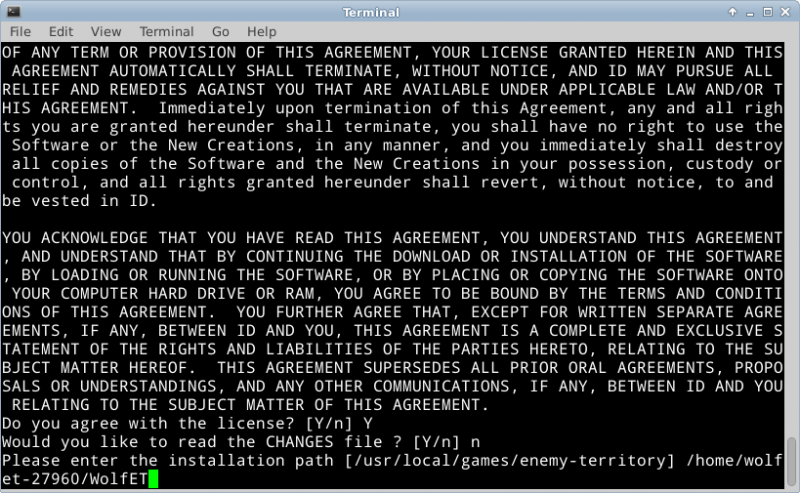
Press the Space Bar to quickly scroll through the license agreement.
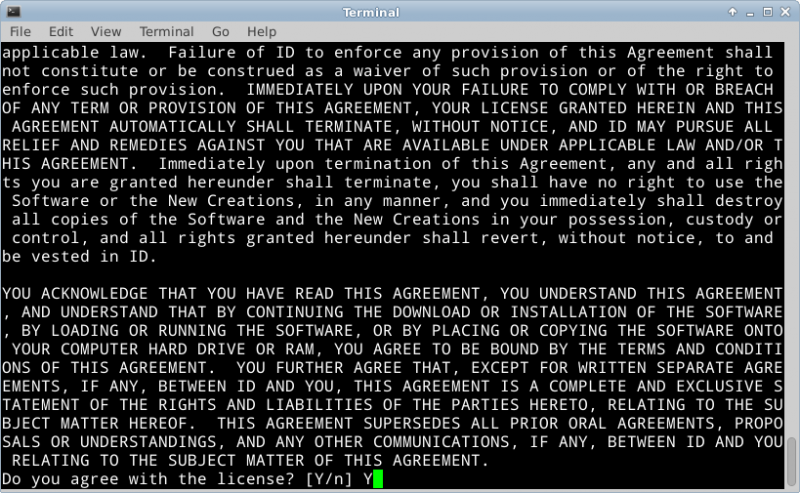
Type “Y” and hit Enter to accept the license agreement.
Press “n” and hit Enter to avoid reading the CHANGES file.
Type in a path to install the game to. I recommend installing into your home folder, unless you have a good reason not to. I installed to my home folder, in a folder called WolfET.
When prompted about where to put the symbolic links. Symbolic links are basically just shortcuts, so this question is very non-important. I put them in my home folder, in a folder called WolfETLinks.
If you get an error message like “No write permission to /path/to/symlink/folder” make sure the directory exists by using the mkdir command to create it.
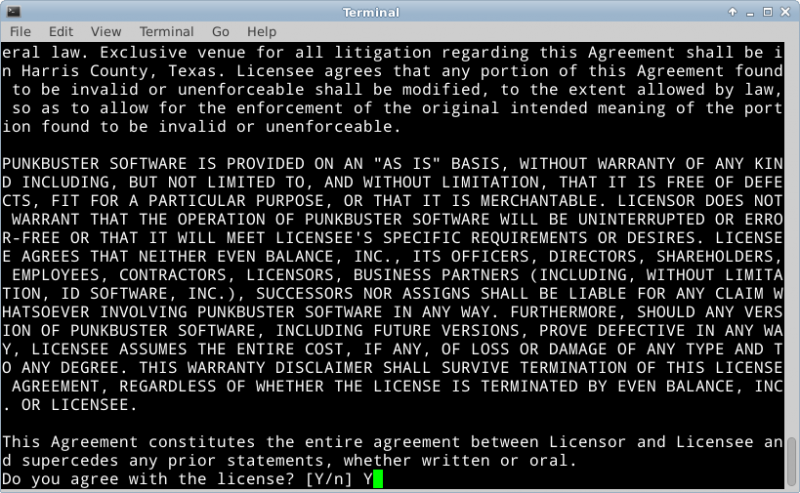
When asked about installing the PunkBuster client/server files, type “Y” and hit enter.
Again, use the Space Bar to scroll through the license agreement. Press “Y” and hit Enter to accept it.
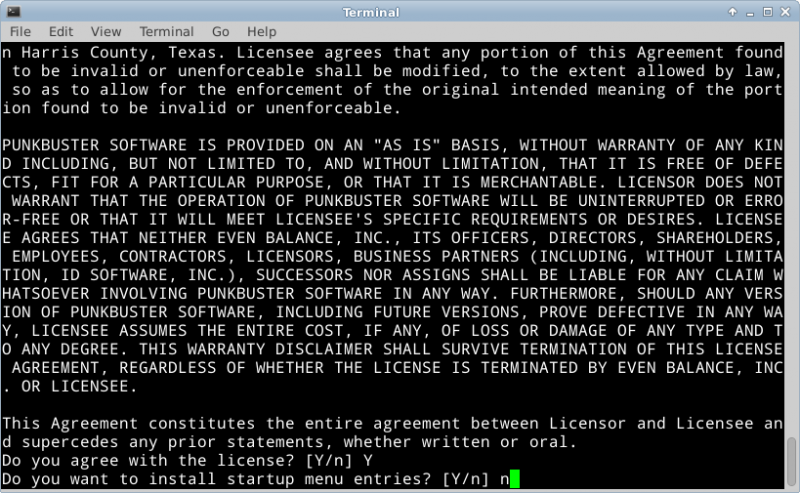
We do not want to install the startup menu entries, so press “n” and hit enter.
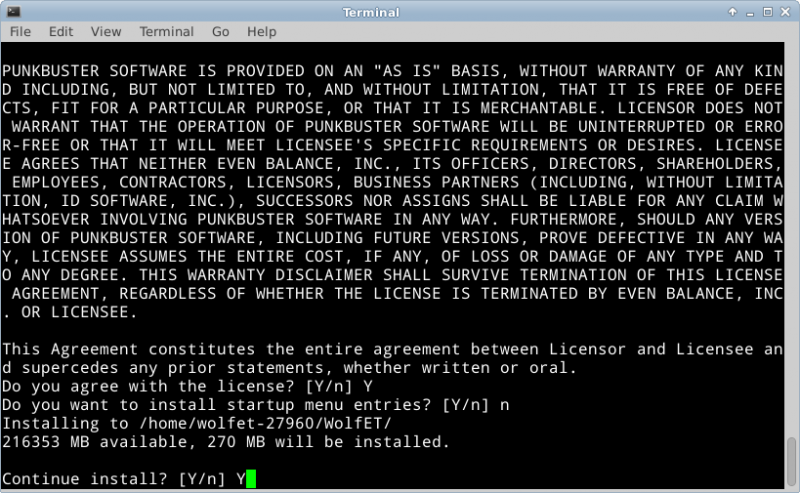
Press “Y” and hit Enter to continue the installation.
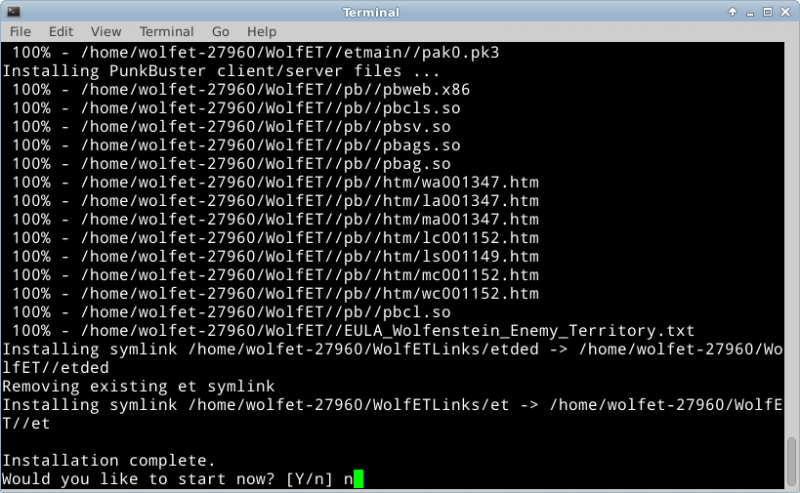
When the installation is completed, do not start the game now. Press “n” and hit Enter.
Patch\Update The Game:
The patch files are located in the folder called Enemy Territory 2.60b
cd “Enemy Territory 2.60b/linux”
Copy the two files to the path where you installed Enemy Territory. This will overwrite the old game files with the patched ones.
cp * /path/to/enemyterritory/
Configuration
The Enemy Territory server is configured by two files primarily: server.cfg and a map rotation cfg of your choice. You can find these files in the etmain folder.
The vanilla configuration will mostly work for your vanilla server, but there are a few notable settings you might want to change.
server.cfg
Server Access Settings
set sv_maxclients allows you to set the number of slots available to your server. The default is 20 players.
set g_password sets a join password on the server. Most servers will want to leave this blank, and doing so is not a security risk.
Server Administrative Settings
set rconpassword sets a remote console password for the server. You can use this to control the server from the ~ menu in-game.
set refereePassword sets a password to gain “referee” access in game, to change maps and handle basic functions from the GUI.
Server Bandwidth Settings
set sv_maxRate and set sv_dl_maxRate are speed limits. I usually set them to 9999999999, to provide the best allowable performance to users.
Server Advertisement & MOTD Settings
set sv_hostname sets the name of your server on the Internet lobby.
set server_motd[0-5] sets the Message of The Day (MOTD) for the server. This is shown during initial connection. Usually people write server rules or other info here.
For ease of configuration, the rest of server.cfg can be left vanilla until you see a need to tweak it. An entire post could be written about this file, but these are the basics of what most people will need to change.
Map Rotation Configuration
What I have done in the past, is copy campaigncycle.cfg to a file called servercycle.cfg and do my configuration in there. For now, we can use campaigncycle.cfg as is the default. It is possible to make your own custom campaign rotations, but that’s a post for another day.
Launcher
In the past, I’ve discovered that some of the configurations of Enemy Territory out of the box (and set by my own server.cfg) don’t seem to really apply correctly. So, I’ve used a launcher script to start the game. Create a file called startet.sh in the root folder (outside etmain, same folder etded.x86 is in) and put your launch instructions in it. This is my startet.sh:
./etded +set com_hunkmegs 512 +exec servercycle.cfg +set net_ip “192.168.10.5” +exec server.cfg
com_hunkmegs is a reference to the amount of memory you will let the server consume. I have found that increasing this limit is desirable when running a heavily loaded or modded server. The rest of that should be fairly self explanatory. Replace 192.168.10.5 with your server’s IP address. Replace servercycle.cfg with the map rotation configuration file you made above. If you renamed server.cfg, change that here as well.
Make the launcher executable:
chmod +x startet.sh
Run the launcher to start your game server.
./startet.sh
You should see a lot of text run down your screen, it will look like this generally:
ET 2.60b linux-i386 May  8 2006
----- FS_Startup -----
Current search path:
/home/wolfet-27960/.etwolf/etmain
/home/wolfet-27960/WolfET/etmain/pak2.pk3 (22 files)
/home/wolfet-27960/WolfET/etmain/pak1.pk3 (10 files)
/home/wolfet-27960/WolfET/etmain/pak0.pk3 (3725 files)
/home/wolfet-27960/WolfET/etmain/mp_bin.pk3 (6 files)
/home/wolfet-27960/WolfET/etmain

----------------------
3763 files in pk3 files
execing default.cfg
couldn't exec language.cfg
couldn't exec autoexec.cfg
Hunk_Clear: reset the hunk ok
Bypassing CD checks
Found high quality video and fast CPU
--- Common Initialization Complete ---
Opening IP socket: 192.168.10.5:27960
Hostname: dauntless.epecweb.com
Alias: localhost
Alias: Dauntless
IP: 127.0.0.1
Started tty console (use +set ttycon 0 to disable)
execing servercycle.cfg
------ Server Initialization ------
Server: oasis
Hunk_Clear: reset the hunk ok
----- FS_Startup -----
Current search path:
/home/wolfet-27960/.etwolf/etmain
/home/wolfet-27960/WolfET/etmain/pak2.pk3 (22 files)
/home/wolfet-27960/WolfET/etmain/pak1.pk3 (10 files)
/home/wolfet-27960/WolfET/etmain/pak0.pk3 (3725 files)
/home/wolfet-27960/WolfET/etmain/mp_bin.pk3 (6 files)
/home/wolfet-27960/WolfET/etmain

----------------------
7526 files in pk3 files
Sys_LoadDll(/home/wolfet-27960/.etwolf/etmain/qagame.mp.i386.so)...
Sys_LoadDll(/home/wolfet-27960/.etwolf/etmain/qagame.mp.i386.so) failed:
"/home/wolfet-27960/.etwolf/etmain/qagame.mp.i386.so: cannot open shared object file: No such file or directory"
Sys_LoadDll(/home/wolfet-27960/WolfET/etmain/qagame.mp.i386.so)... ok
Sys_LoadDll(qagame) found **vmMain** at  0xd2d3ab90
Sys_LoadDll(qagame) succeeded!
------- Game Initialization -------
gamename: etmain
gamedate: Mar 10 2005
Not logging to disk.
Gametype changed, clearing session data.
Enable spawning!
There will be some errors in this, notably the failure loading qagame.mp.i386.so. These errors are OK in my experience…
Once you’re up and running, you’ll see some text like this in your console:
0 teams with 0 entities
-----------------------------------
Setting MOTD...
broadcast: print "Server: g_balancedteams changed to 1\n"
Setting Allied autospawn to Old City
Setting Axis autospawn to Old City
^1Warning: setstate called and no entities found
-----------------------------------
execing preset_high.cfg
Hitch warning: 1969 msec frame time
Resolving etmaster.idsoftware.com
etmaster.idsoftware.com resolved to 192.246.40.60:27950
Sending heartbeat to etmaster.idsoftware.com
Hitch warning: 545 msec frame time
^1Warning: setstate called and no entities found is another OK error. It just means there is no one in the server right now.
Firewall Rules
If your dedicated server is behind a firewall (and I certainly hope it is) you will need to forward a port to allow Enemy Territory traffic. That port is 27960 by default.
You’re Done!
Congratulations, if you’ve followed this guide, you now have a functional Enemy Territory server! To play, connect to your server’s IP address or find the game on the Internet lobby.
If you have any questions about anything in this guide, or Enemy Territory server administration in general, please feel free to ask in the comments. I am not, by any means, an expert on Enemy Territory servers, but I’ve run one for a number of years and I know more about them than the average person, so go ahead and ask questions! Thanks for reading.

Please update this as those links are dead…I’m having trouble setting up wolf ET server on centOS 64bit… I have root access but I keep getting this crap:
root@srv [~/et]# sh et-linux-2.60.x86.run
Verifying archive integrity… All good.
Uncompressing Enemy Territory 2.60 Full Install…………………………………………………………………………………………………………………………………………………………………………………………………………………………………………………………………………………………
et-linux-2.60.x86.run: line 363: ./setup.sh: Permission denied
Any ideas?
Yes, I suppose they are! I’ll get that updated shortly.
As far as your Permission Denied, try running:
chmod +x setup.sh
And try running it again.
setup.sh does not exist in the directory so how can I make a nonexistent file executable bro?
Off the top of my head, I thought perhaps you didn’t have ia32-libs installed, but upon further research I found that no such package exists for CentOS. Although, it’s my opinion that you might still be missing a library.
I will need to look at the contents of the ET install script file myself and see if I can determine the cause of the error. Also, what is the version of CentOS you are running? If I have time this weekend, I’d be happy to install CentOS on a throwaway VM and try to debug this error. If you feel like it, I would also SSH into your server and try to help on your environment, or we can do some debugging here on Binary Impulse, but that will obviously take longer.
Full disclosure, I can tell you that running the Windows version of Enemy Territory in WINE will probably work for a server. The Linux version of the binary may not have the same dependencies on CentOS and may not even be compatible with later versions. The software hasn’t been maintained for a few years, and it doesn’t help that my guide was written for Ubuntu, which is a Debian flavor.
If you come up with any solutions, please let us know here in the comments. Otherwise, I’d be happy to lend a hand however I can!
Hey Jason, I’ve had a chance to look further into what the Enemy Territory installer is doing. Can you please check in your /tmp for a folder named similar to “selfgz15891”? I believe you’ll find temporary files from the Enemy Territory installer in such a location, and there you may be able to chmod +x the setup.sh script.
The download links are fixed. Thanks for letting me know!
Bro I hope you can help me with this… centos 64
root@ded395 [/wolf]# ./et-linux-2.60.x86.run
Verifying archive integrity… All good.
Uncompressing Enemy Territory 2.60 Full Install…………………………………………………………………………………………………………………………………………………………………………………………………………………………………………………………………………………………
./et-linux-2.60.x86.run: line 363: ./setup.sh: Permission denied
root@ded395 [/wolf]# chmod +x setup.sh
chmod: cannot access `setup.sh’: No such file or directory
Re: Jason: Jan 2104 : ./setup.sh: Permission denied
I have found on my Ubuntu 14.04 system the error ” ./setup.sh: Permission denied”was caused by a lack of 32bit libraries.
This page https://help.ubuntu.com/community/EnemyTerritory Helpfully informed me I needed
to install ia32-libs to which my system helpfully informed me “Package ia32-libs is not available, However the following packages replace it: lib32z1 lib32ncurses5 lib32bz2-1.0”
Once I installed the 32 bit libraries I was able to install.
Hope this helps you.
if anyone wonders, and is running it in an rpm based 64 bit, install the 32bit libs with this command
yum install glibc.i686 libX11.i686 libXext.i686 libstdc++.i686 pulseaudio-libs.i686
Good to know, thanks for the contribution. 🙂
Dude, what terminal/editor are you using to get all the awesome colors?
I can’t imagine you’re referring to those rather bland screenshots of my Linux terminal… so you must be talking about the output text which I have in the Code boxes? That is the Crayon Syntax Highlighter plugin for WordPress.
Lol, no, definitely not referring to the screenshots of the terminal itself, but the output. That’s a pretty slick highlighter. Darn WordPress, always making things look pretty! 😉
So I have been beating my head around this for a while trying to resolve an error im getting.
I am getting the following error
-bash-4.1$ ./et-linux-2.60.x86.run
Verifying archive integrity… All good.
Uncompressing Enemy Territory 2.60 Full Install…………………………… …………………………………………………………………….. …………………………………………………………………….. …………………………………………………………………….. ………………………………………
The recommended install location (/usr/local/games) requires root permissions.
Please enter the root password or hit enter to continue install as current user.
Password:
/tmp/selfgz272822828/setup.sh: /root/.setup27358: /lib/ld-linux.so.2: bad ELF in terpreter: No such file or directory
I have glibc installed, and have checked to see which one resolves ld.linux.so.2 and have found this
glibc-2.12-1.149.el6.i686 : The GNU libc libraries
Repo : clearos-core
Matched from:
Other : ld-linux.so.2
I try to install it, and I get a bunch of errors that say “conflicts between attempted installs of glibc32-2.11.1-1.x86_64 and glibc-2.12-1.149.el6.i686” .
It tries to install glibc32-2.00.0-0.x86_64 as a dependency
Any help on this would be greatly appreciated
Im running ClearOS 6.5 which is based off of Red Hat btw, forgot to include that in my post
Interesting, I am not familiar with ClearOS, but as it’s Red Hat based perhaps you’d be able to try the Yum packages suggested by a previous commenter for CentOS? “yum install glibc.i686 libX11.i686 libXext.i686 libstdc++.i686 pulseaudio-libs.i686”. From the error I would speculate that you are missing some 32-bit compatibility libraries, but as there is no direct equivalent for ia32-libs on CentOS, there may not be on ClearOS either. This is all just speculation, I would need to install it myself to make a more educated guess.
ok, now I get a different error when trying to install those. it looks like I have newer versions of them installed, so when it goes to install the older versions it throws a conflict error.
[root@netboot wolfet]# yum –enablerepo=clearos-* –skip-broken install glibc.i686 libX11.i686 libXext.i686 libstdc++.i686 pulseaudio-libs.i686
Loaded plugins: clearcenter-marketplace, fastestmirror
ClearCenter Marketplace: fetching repositories…
Loading mirror speeds from cached hostfile
* clearos: mirror2-dc.clearsdn.com
* clearos-addons: mirror2-dc.clearsdn.com
* clearos-contribs: mirror2-dc.clearsdn.com
* clearos-core: mirror2-dc.clearsdn.com
* clearos-dev: mirror2-dc.clearsdn.com
* clearos-developer: download1.clearsdn.com
* clearos-epel: mirror.sfo12.us.leaseweb.net
* clearos-epel-testing: mirror.sfo12.us.leaseweb.net
* clearos-extras: mirror2-dc.clearsdn.com
* clearos-test: mirror2-dc.clearsdn.com
* clearos-updates: mirror2-dc.clearsdn.com
* clearos-updates-testing: mirror2-dc.clearsdn.com
* contribs: download1.clearsdn.com
* private-clearcenter-dyndns: download3.clearsdn.com:80
Setting up Install Process
Resolving Dependencies
–> Running transaction check
—> Package glibc.i686 0:2.12-1.149.el6 will be installed
–> Processing Dependency: glibc-common = 2.12-1.149.el6 for package: glibc-2.12-1.149.el6.i686
–> Processing Dependency: libfreebl3.so for package: glibc-2.12-1.149.el6.i686
–> Processing Dependency: libfreebl3.so(NSSRAWHASH_3.12.3) for package: glibc-2.12-1.149.el6.i686
—> Package libX11.i686 0:1.6.0-2.2.el6 will be installed
–> Processing Dependency: libX11-common = 1.6.0-2.2.el6 for package: libX11-1.6.0-2.2.el6.i686
–> Processing Dependency: libxcb.so.1 for package: libX11-1.6.0-2.2.el6.i686
—> Package libXext.i686 0:1.3.2-2.1.el6 will be installed
—> Package libstdc++.i686 0:4.4.7-11.el6 will be installed
–> Processing Dependency: libgcc_s.so.1 for package: libstdc++-4.4.7-11.el6.i686
–> Processing Dependency: libgcc_s.so.1(GCC_3.0) for package: libstdc++-4.4.7-11.el6.i686
–> Processing Dependency: libgcc_s.so.1(GCC_3.3) for package: libstdc++-4.4.7-11.el6.i686
–> Processing Dependency: libgcc_s.so.1(GCC_4.2.0) for package: libstdc++-4.4.7-11.el6.i686
–> Processing Dependency: libgcc_s.so.1(GLIBC_2.0) for package: libstdc++-4.4.7-11.el6.i686
—> Package pulseaudio-libs.i686 0:0.9.21-17.el6 will be installed
–> Processing Dependency: libICE.so.6 for package: pulseaudio-libs-0.9.21-17.el6.i686
–> Processing Dependency: libSM.so.6 for package: pulseaudio-libs-0.9.21-17.el6.i686
–> Processing Dependency: libXtst.so.6 for package: pulseaudio-libs-0.9.21-17.el6.i686
–> Processing Dependency: libasyncns.so.0 for package: pulseaudio-libs-0.9.21-17.el6.i686
–> Processing Dependency: libdbus-1.so.3 for package: pulseaudio-libs-0.9.21-17.el6.i686
–> Processing Dependency: libsndfile.so.1 for package: pulseaudio-libs-0.9.21-17.el6.i686
–> Processing Dependency: libsndfile.so.1(libsndfile.so.1.0) for package: pulseaudio-libs-0.9.21-17.el6.i686
–> Processing Dependency: libwrap.so.0 for package: pulseaudio-libs-0.9.21-17.el6.i686
–> Running transaction check
—> Package dbus-libs.i686 1:1.2.24-7.el6_3 will be installed
—> Package glibc-common.x86_64 0:2.12-1.132.el6_5.4 will be updated
–> Processing Dependency: glibc-common = 2.12-1.132.el6_5.4 for package: glibc-2.12-1.132.el6_5.4.x86_64
—> Package glibc-common.x86_64 0:2.12-1.149.el6 will be an update
—> Package glibc32.x86_64 0:2.11.1-1 will be installed
—> Package libICE.i686 0:1.0.6-1.el6 will be installed
—> Package libSM.i686 0:1.2.1-2.el6 will be installed
–> Processing Dependency: libuuid.so.1 for package: libSM-1.2.1-2.el6.i686
–> Processing Dependency: libuuid.so.1(UUID_1.0) for package: libSM-1.2.1-2.el6.i686
—> Package libX11-common.noarch 0:1.5.0-4.el6 will be updated
–> Processing Dependency: libX11-common = 1.5.0-4.el6 for package: libX11-1.5.0-4.el6.x86_64
—> Package libX11-common.noarch 0:1.6.0-2.2.el6 will be an update
—> Package libXtst.x86_64 0:1.2.1-2.el6 will be updated
—> Package libXtst.i686 0:1.2.2-2.1.el6 will be installed
–> Processing Dependency: libXi.so.6 for package: libXtst-1.2.2-2.1.el6.i686
—> Package libXtst.x86_64 0:1.2.2-2.1.el6 will be an update
—> Package libasyncns.i686 0:0.8-1.1.el6 will be installed
—> Package libgcc.x86_64 0:4.4.7-4.el6 will be updated
—> Package libgcc.i686 0:4.4.7-11.el6 will be installed
—> Package libgcc.x86_64 0:4.4.7-11.el6 will be an update
—> Package libsndfile.i686 0:1.0.20-5.el6 will be installed
–> Processing Dependency: libFLAC.so.8 for package: libsndfile-1.0.20-5.el6.i686
–> Processing Dependency: libasound.so.2 for package: libsndfile-1.0.20-5.el6.i686
–> Processing Dependency: libasound.so.2(ALSA_0.9) for package: libsndfile-1.0.20-5.el6.i686
–> Processing Dependency: libasound.so.2(ALSA_0.9.0rc4) for package: libsndfile-1.0.20-5.el6.i686
–> Processing Dependency: libogg.so.0 for package: libsndfile-1.0.20-5.el6.i686
–> Processing Dependency: libsqlite3.so.0 for package: libsndfile-1.0.20-5.el6.i686
–> Processing Dependency: libvorbis.so.0 for package: libsndfile-1.0.20-5.el6.i686
–> Processing Dependency: libvorbisenc.so.2 for package: libsndfile-1.0.20-5.el6.i686
—> Package libxcb.x86_64 0:1.8.1-1.el6 will be updated
—> Package libxcb.i686 0:1.9.1-2.el6 will be installed
–> Processing Dependency: libXau.so.6 for package: libxcb-1.9.1-2.el6.i686
—> Package libxcb.x86_64 0:1.9.1-2.el6 will be an update
—> Package tcp_wrappers-libs.i686 0:7.6-57.el6 will be installed
–> Running transaction check
—> Package alsa-lib.i686 0:1.0.22-3.el6 will be installed
—> Package flac.i686 0:1.2.1-6.1.el6 will be installed
—> Package glibc.x86_64 0:2.12-1.132.el6_5.4 will be updated
–> Processing Dependency: glibc = 2.12-1.132.el6_5.4 for package: nscd-2.12-1.132.el6_5.4.x86_64
—> Package glibc.x86_64 0:2.12-1.149.el6 will be an update
—> Package libX11.x86_64 0:1.5.0-4.el6 will be updated
—> Package libX11.x86_64 0:1.6.0-2.2.el6 will be an update
—> Package libXau.i686 0:1.0.6-4.el6 will be installed
—> Package libXi.x86_64 0:1.6.1-3.el6 will be updated
—> Package libXi.i686 0:1.7.2-2.2.el6 will be installed
—> Package libXi.x86_64 0:1.7.2-2.2.el6 will be an update
—> Package libogg.i686 2:1.1.4-2.1.el6 will be installed
—> Package libuuid.x86_64 0:2.17.2-12.14.el6_5 will be updated
–> Processing Dependency: libuuid = 2.17.2-12.14.el6_5 for package: libblkid-2.17.2-12.14.el6_5.x86_64
–> Processing Dependency: libuuid = 2.17.2-12.14.el6_5 for package: util-linux-ng-2.17.2-12.14.el6_5.x86_64
—> Package libuuid.i686 0:2.17.2-12.18.el6 will be installed
—> Package libuuid.x86_64 0:2.17.2-12.18.el6 will be an update
—> Package libvorbis.i686 1:1.2.3-4.el6_2.1 will be installed
—> Package sqlite.i686 0:3.6.20-1.el6 will be installed
–> Processing Dependency: libreadline.so.6 for package: sqlite-3.6.20-1.el6.i686
–> Running transaction check
—> Package libblkid.x86_64 0:2.17.2-12.14.el6_5 will be updated
—> Package libblkid.x86_64 0:2.17.2-12.18.el6 will be an update
—> Package nscd.x86_64 0:2.12-1.132.el6_5.4 will be updated
—> Package nscd.x86_64 0:2.12-1.149.el6 will be an update
—> Package readline.i686 0:6.0-4.el6 will be installed
–> Processing Dependency: libtinfo.so.5 for package: readline-6.0-4.el6.i686
—> Package util-linux-ng.x86_64 0:2.17.2-12.14.el6_5 will be updated
—> Package util-linux-ng.x86_64 0:2.17.2-12.18.el6 will be an update
–> Running transaction check
—> Package ncurses-libs.i686 0:5.7-3.20090208.el6 will be installed
–> Finished Dependency Resolution
Error: Multilib version problems found. This often means that the root
cause is something else and multilib version checking is just
pointing out that there is a problem. Eg.:
1. You have an upgrade for libstdc++ which is missing some
dependency that another package requires. Yum is trying to
solve this by installing an older version of libstdc++ of the
different architecture. If you exclude the bad architecture
yum will tell you what the root cause is (which package
requires what). You can try redoing the upgrade with
–exclude libstdc++.otherarch … this should give you an error
message showing the root cause of the problem.
2. You have multiple architectures of libstdc++ installed, but
yum can only see an upgrade for one of those arcitectures.
If you don’t want/need both architectures anymore then you
can remove the one with the missing update and everything
will work.
3. You have duplicate versions of libstdc++ installed already.
You can use “yum check” to get yum show these errors.
…you can also use –setopt=protected_multilib=false to remove
this checking, however this is almost never the correct thing to
do as something else is very likely to go wrong (often causing
much more problems).
Protected multilib versions: libstdc++-4.4.7-11.el6.i686 != libstdc++-4.4.7-4.el6.x86_64
Error: Protected multilib versions: libXext-1.3.2-2.1.el6.i686 != libXext-1.3.1-2.el6.x86_64
You could try running: rpm -Va –nofiles –nodigest
I have ran the rpm -Va –nofiles –nodigest, to try to resolve, but still the same issues,
any suggestions?
Could you post the output of “yum check”?
I have started it, but apparently it takes a while to complete, so I will post the results once it is finished
Here is my output:
[root@netboot pluginconf.d]# yum check
Loaded plugins: clearcenter-marketplace, fastestmirror
check all
[root@netboot pluginconf.d]#
Actually you just need to install glibc. You already seem to have compatibility for 32 bit libc++ as evident from message
>> libstdc++-4.4.7-11.el6.i686 != libstdc++-4.4.7-4.el6.x86_64
I also faced the same issue. I was trying to trace the installation and wanted to keep the untarred files. I used “./et260b.x86_keygen_V03.run –keep” and for some reason the installation went through.
root@Division-WolfensteinET:~# sudo ./et-linux-2.60.x86.run
Verifying archive integrity… All good.
Uncompressing Enemy Territory 2.60 Full Install…………………………………………………………………………………………………………………………………………………………………………………………………………………………………………………………………………………………
./setup.sh: 191: ./setup.sh: /home/administrator/.setup10363: not found
What distro and architecture?
i got the same problem i am using Ubuntu 14.10
Is it a 64 bit installation?
Hi to all
For add the ET-Pro game mode server side ?
And see the server in the public list ?
Thanks
I’m not too familiar with ET-Pro but I assume it’s a mod like Jaymod?
For Jaymod, I add a line to the start command like this.
./etded +set fs_game=jaymod
Hi there!
great tutorial! Now I got my ET Server running like a champ!
Any idea how to get some Bots? Or perhaps more maps and such?
Thanks again! Great job!
ps.
Linux Ubuntu Server 14.04