• About Binary Impulse
  • BashBytes
Binary Impulse

Author Archives: Kirk Schnable

Installing & Configuring A Vanilla Wolfenstein Enemy Territory Dedicated Server On Ubuntu Linux

July 20, 2013 2:03 PM / 28 Comments / Kirk Schnable

Background

Wolfenstein Enemy Territory is a free-to-play multiplayer game, based on World War II “Allies vs. Axis” style combat.  It is a first-person shooter game, but it has objective-based gameplay.  Players will perform tasks such as escorting tanks, stealing gold, repairing radio transmitters and delivering stolen documents to the transmitter, building tank barriers, dynamiting protection walls, and other objectives based on the map.  The objective-based gameplay makes Enemy Territory a uniquely fun gaming experience, with the classic FPS aspects gamers crave.  Enemy Territory is not one of those games where you look at your kill statistics, you’re too busy defending your objective or advancing on your enemy!

The Goal of This How-To

At the end of this how-to, you should have a vanilla Enemy Territory running.  You will be able to install Enemy Territory on a Windows client, connect to the server, and play Enemy Territory online!

Installing The Vanilla Enemy Territory Server

First, we need to download the Linux Enemy Territory game files.  It is necessary to install the entire game in order to have a dedicated server, but no GUI is needed, you can do all of this through an SSH session if you choose.

You can obtain Wolfenstein Enemy Territory on various websites on the Internet, but for the purposes of longevity of the links in this how-to, I will use the files hosted on The United Federation of Gaming (as I have control over these files).

Download the game:

wget http://www.unitedfederationofgaming.com/dist/wolfet/linux/et-linux-2.60.x86.zip

Download the latest patch for the game:

wget http://www.unitedfederationofgaming.com/dist/wolfet/linux/ET-2.60b-linux.zip

Extract the Zip files:

unzip et-linux-2.60.x86.zip

unzip ET-2.60b-linux.zip

Make the installer executable:

chmod +x et-linux-2.60.x86.run
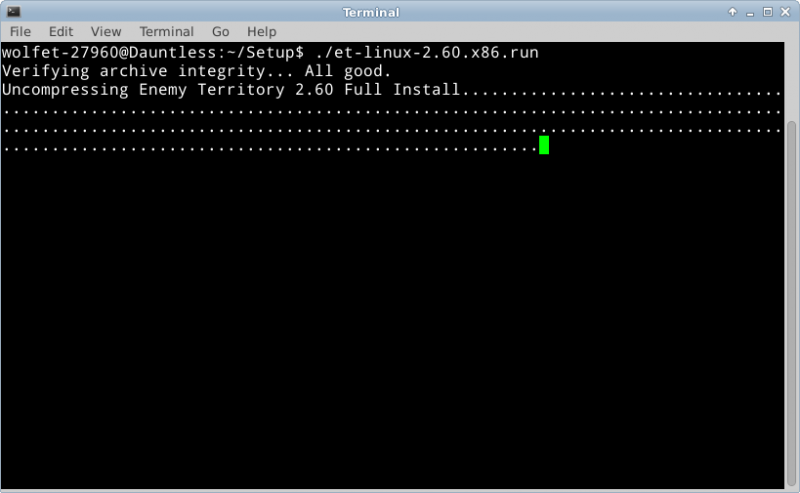
Run the installer:

./et-linux-2.60.x86.run

Screenshot - 07202013 - 01:53:06 PM


Screenshot - 07202013 - 01:53:22 PM


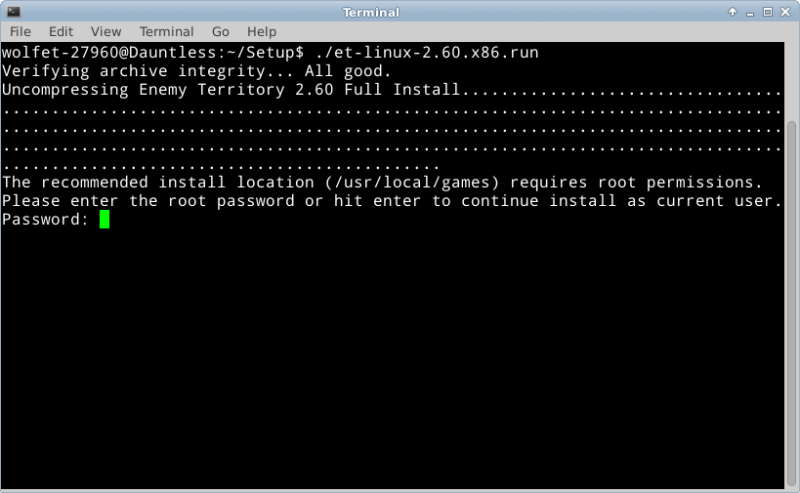
It is okay to continue as a limited user, and install the game in your home folder.

Screenshot - 07202013 - 01:53:34 PM


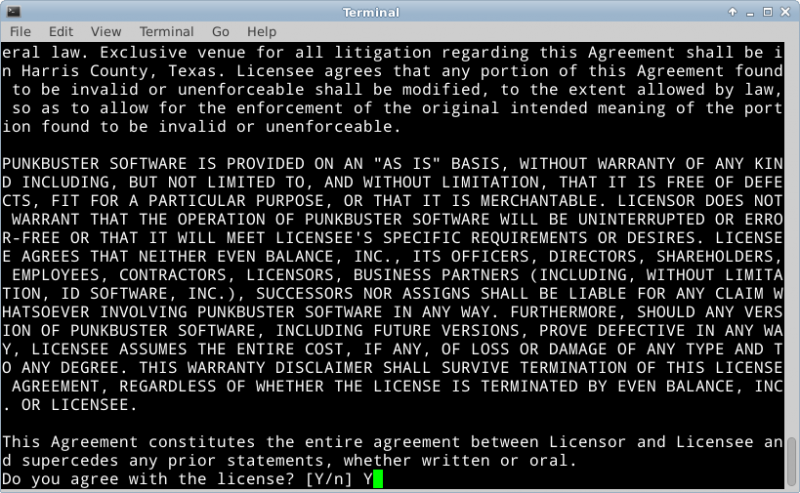
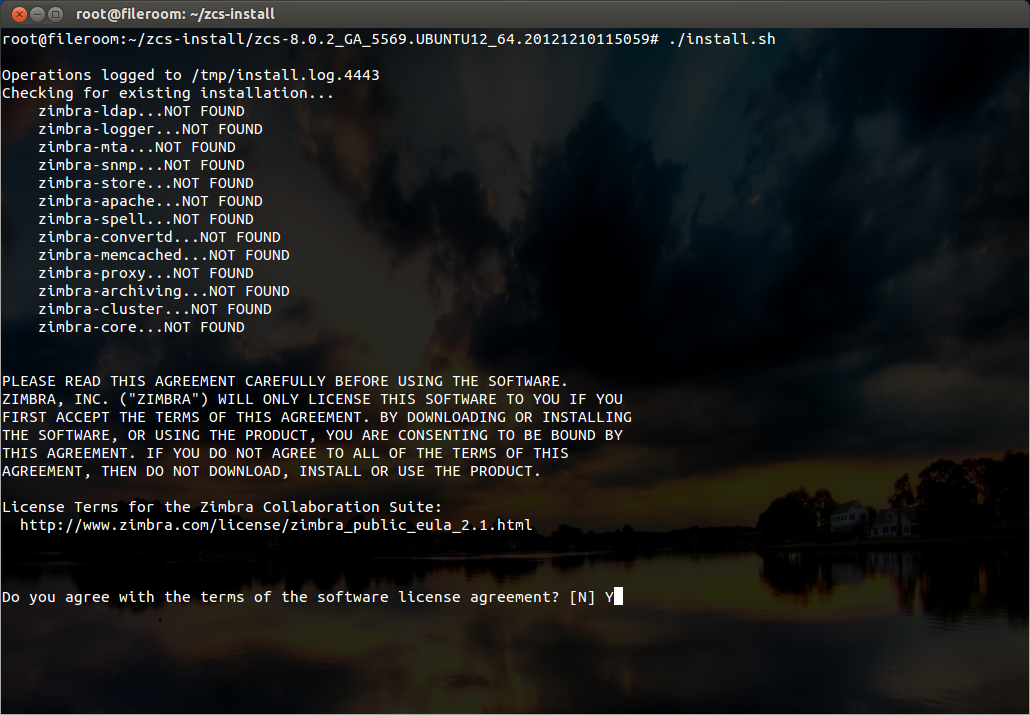
Press the Space Bar to quickly scroll through the license agreement.

Screenshot - 07202013 - 01:54:33 PM


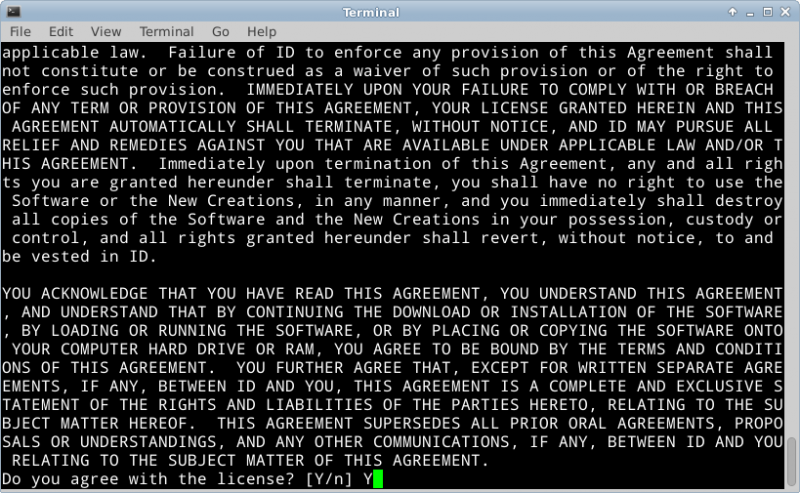
Type “Y” and hit Enter to accept the license agreement.

Screenshot - 07202013 - 02:02:26 PM

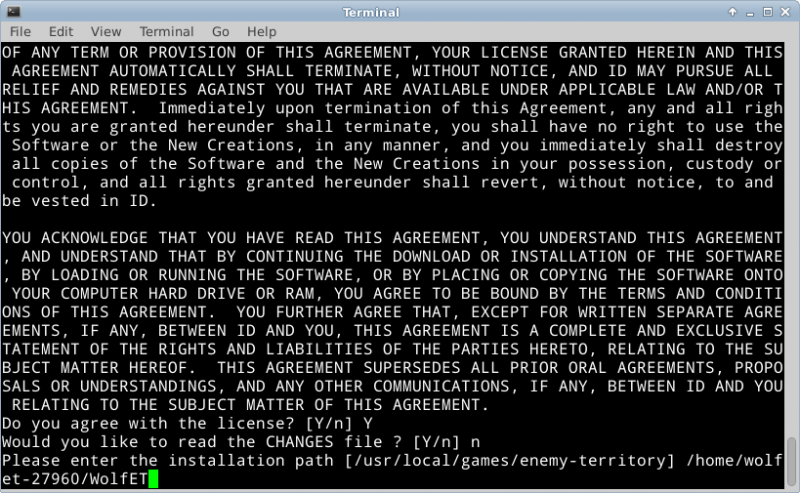
Press “n” and hit Enter to avoid reading the CHANGES file.

Type in a path to install the game to.  I recommend installing into your home folder, unless you have a good reason not to.  I installed to my home folder, in a folder called WolfET.

When prompted about where to put the symbolic links.  Symbolic links are basically just shortcuts, so this question is very non-important.  I put them in my home folder, in a folder called WolfETLinks.

If you get an error message like “No write permission to /path/to/symlink/folder” make sure the directory exists by using the mkdir command to create it.

When asked about installing the PunkBuster client/server files, type “Y” and hit enter.

Screenshot - 07202013 - 02:09:14 PM


Again, use the Space Bar to scroll through the license agreement.  Press “Y” and hit Enter to accept it.

Screenshot - 07202013 - 02:10:29 PM


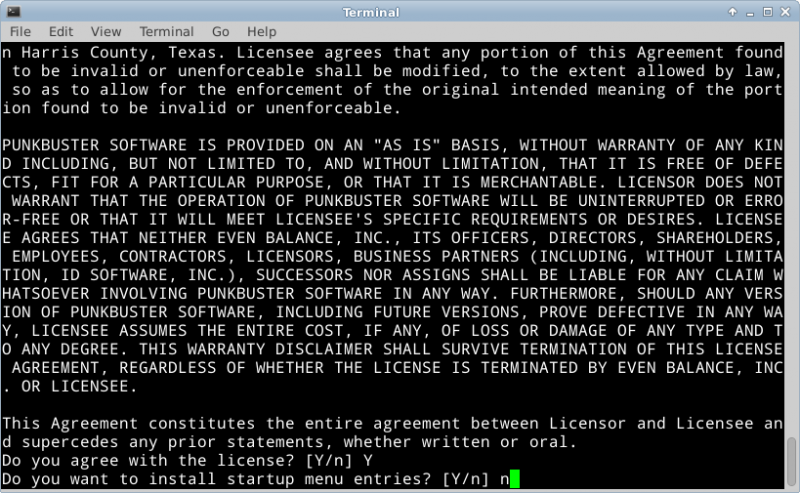
We do not want to install the startup menu entries, so press “n” and hit enter.

Screenshot - 07202013 - 02:11:30 PM


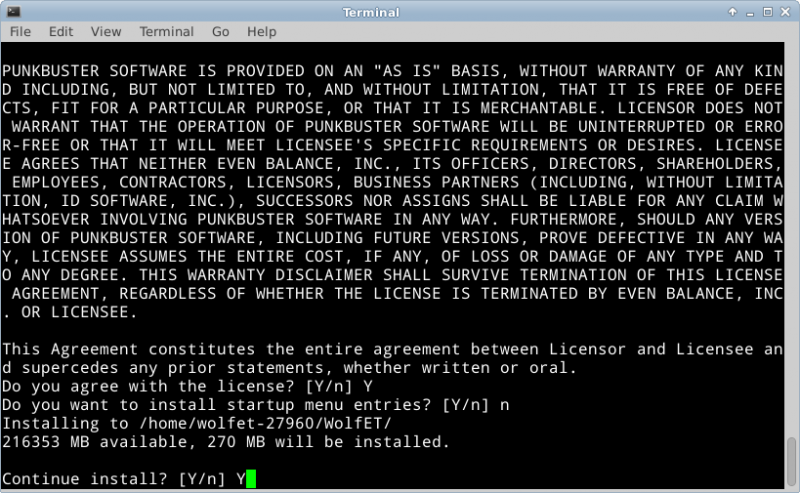
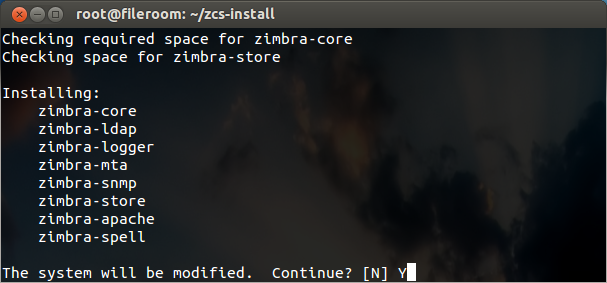
Press “Y” and hit Enter to continue the installation.

Screenshot - 07202013 - 02:12:27 PM


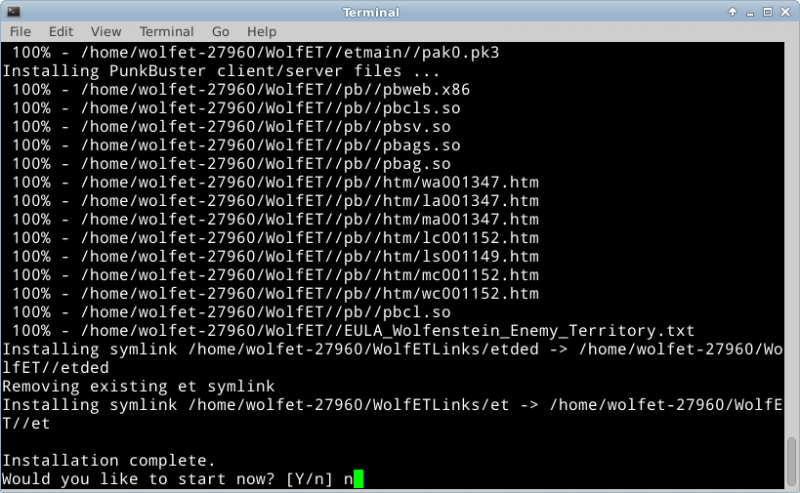
When the installation is completed, do not start the game now.  Press “n” and hit Enter.

Patch\Update The Game:

The patch files are located in the folder called Enemy Territory 2.60b

cd “Enemy Territory 2.60b/linux”

Copy the two files to the path where you installed Enemy Territory.  This will overwrite the old game files with the patched ones.

cp * /path/to/enemyterritory/

Configuration

The Enemy Territory server is configured by two files primarily: server.cfg and a map rotation cfg of your choice.  You can find these files in the etmain folder.

The vanilla configuration will mostly work for your vanilla server, but there are a few notable settings you might want to change.

server.cfg

Server Access Settings
set sv_maxclients allows you to set the number of slots available to your server.  The default is 20 players.
set g_password sets a join password on the server.  Most servers will want to leave this blank, and doing so is not a security risk.

Server Administrative Settings
set rconpassword sets a remote console password for the server.  You can use this to control the server from the ~ menu in-game.
set refereePassword sets a password to gain “referee” access in game, to change maps and handle basic functions from the GUI.

Server Bandwidth Settings
set sv_maxRate and set sv_dl_maxRate are speed limits.  I usually set them to 9999999999, to provide the best allowable performance to users.

Server Advertisement & MOTD Settings
set sv_hostname sets the name of your server on the Internet lobby.
set server_motd[0-5] sets the Message of The Day (MOTD) for the server.  This is shown during initial connection.  Usually people write server rules or other info here.

For ease of configuration, the rest of server.cfg can be left vanilla until you see a need to tweak it.  An entire post could be written about this file, but these are the basics of what most people will need to change.

Map Rotation Configuration
What I have done in the past, is copy campaigncycle.cfg to a file called servercycle.cfg and do my configuration in there.  For now, we can use campaigncycle.cfg as is the default.  It is possible to make your own custom campaign rotations, but that’s a post for another day.

Launcher
In the past, I’ve discovered that some of the configurations of Enemy Territory out of the box (and set by my own server.cfg) don’t seem to really apply correctly.  So, I’ve used a launcher script to start the game.  Create a file called startet.sh in the root folder (outside etmain, same folder etded.x86 is in) and put your launch instructions in it.  This is my startet.sh:

./etded +set com_hunkmegs 512 +exec servercycle.cfg +set net_ip “192.168.10.5” +exec server.cfg

com_hunkmegs is a reference to the amount of memory you will let the server consume.  I have found that increasing this limit is desirable when running a heavily loaded or modded server.  The rest of that should be fairly self explanatory.  Replace 192.168.10.5 with your server’s IP address.  Replace servercycle.cfg with the map rotation configuration file you made above.  If you renamed server.cfg, change that here as well.

Make the launcher executable:

chmod +x startet.sh

Run the launcher to start your game server.

./startet.sh

You should see a lot of text run down your screen, it will look like this generally:

ET 2.60b linux-i386 May  8 2006
----- FS_Startup -----
Current search path:
/home/wolfet-27960/.etwolf/etmain
/home/wolfet-27960/WolfET/etmain/pak2.pk3 (22 files)
/home/wolfet-27960/WolfET/etmain/pak1.pk3 (10 files)
/home/wolfet-27960/WolfET/etmain/pak0.pk3 (3725 files)
/home/wolfet-27960/WolfET/etmain/mp_bin.pk3 (6 files)
/home/wolfet-27960/WolfET/etmain

----------------------
3763 files in pk3 files
execing default.cfg
couldn't exec language.cfg
couldn't exec autoexec.cfg
Hunk_Clear: reset the hunk ok
Bypassing CD checks
Found high quality video and fast CPU
--- Common Initialization Complete ---
Opening IP socket: 192.168.10.5:27960
Hostname: dauntless.epecweb.com
Alias: localhost
Alias: Dauntless
IP: 127.0.0.1
Started tty console (use +set ttycon 0 to disable)
execing servercycle.cfg
------ Server Initialization ------
Server: oasis
Hunk_Clear: reset the hunk ok
----- FS_Startup -----
Current search path:
/home/wolfet-27960/.etwolf/etmain
/home/wolfet-27960/WolfET/etmain/pak2.pk3 (22 files)
/home/wolfet-27960/WolfET/etmain/pak1.pk3 (10 files)
/home/wolfet-27960/WolfET/etmain/pak0.pk3 (3725 files)
/home/wolfet-27960/WolfET/etmain/mp_bin.pk3 (6 files)
/home/wolfet-27960/WolfET/etmain

----------------------
7526 files in pk3 files
Sys_LoadDll(/home/wolfet-27960/.etwolf/etmain/qagame.mp.i386.so)... 
Sys_LoadDll(/home/wolfet-27960/.etwolf/etmain/qagame.mp.i386.so) failed:
"/home/wolfet-27960/.etwolf/etmain/qagame.mp.i386.so: cannot open shared object file: No such file or directory"
Sys_LoadDll(/home/wolfet-27960/WolfET/etmain/qagame.mp.i386.so)... ok
Sys_LoadDll(qagame) found **vmMain** at  0xd2d3ab90  
Sys_LoadDll(qagame) succeeded!
------- Game Initialization -------
gamename: etmain
gamedate: Mar 10 2005
Not logging to disk.
Gametype changed, clearing session data.
Enable spawning!

There will be some errors in this, notably the failure loading qagame.mp.i386.so.  These errors are OK in my experience…

Once you’re up and running, you’ll see some text like this in your console:

0 teams with 0 entities
-----------------------------------
Setting MOTD...
broadcast: print "Server: g_balancedteams changed to 1\n"
Setting Allied autospawn to Old City
Setting Axis autospawn to Old City
^1Warning: setstate called and no entities found
-----------------------------------
execing preset_high.cfg
Hitch warning: 1969 msec frame time
Resolving etmaster.idsoftware.com
etmaster.idsoftware.com resolved to 192.246.40.60:27950
Sending heartbeat to etmaster.idsoftware.com
Hitch warning: 545 msec frame time

^1Warning: setstate called and no entities found is another OK error.  It just means there is no one in the server right now.

Firewall Rules

If your dedicated server is behind a firewall (and I certainly hope it is) you will need to forward a port to allow Enemy Territory traffic.  That port is 27960 by default.

You’re Done!
Congratulations, if you’ve followed this guide, you now have a functional Enemy Territory server!  To play, connect to your server’s IP address or find the game on the Internet lobby.

If you have any questions about anything in this guide, or Enemy Territory server administration in general, please feel free to ask in the comments.  I am not, by any means, an expert on Enemy Territory servers, but I’ve run one for a number of years and I know more about them than the average person, so go ahead and ask questions!  Thanks for reading.


Posted in: How-To's / Tagged: Enemy Territory, Gaming, Linux, RTCW, Ubuntu

Safely Removing Gnome-Keyring From Xubuntu 12.04

June 5, 2013 4:31 PM / 5 Comments / Kirk Schnable

EDIT: Your results may vary, I am getting some feedback about this solution indicating which it may not be entirely effective, or may not work any more.

In previous Linux deployments, we have had problems with people’s keyring passwords being forgotten or not working, to the point where the universal response if you ask anyone what to do when the Gnome Keyring prompt comes up, it’s “oh, just hit cancel”.

In the latest image, we have decided to remove gnome-keyring.  You would think you would be able to do this very easily.

sudo apt-get remove gnome-keyring

But in reality, this command is dangerous, and threatens to remove xubuntu-desktop.

The following packages will be REMOVED:
  gnome-keyring oneconf python-ubuntu-sso-client seahorse software-center
  ubuntu-sso-client ubuntu-sso-client-gtk xubuntu-desktop
0 upgraded, 0 newly installed, 8 to remove and 0 not upgraded.
After this operation, 11.5 MB disk space will be freed.
Do you want to continue [Y/n]?

So, I did a bit of Googling, and I found this thread on Ask Ubuntu. They suggested installing aptitude and using aptitude to remove gnome-keyring, because they believe aptitude’s dependency tree is different.  However, this solution does not seem to work.

After doing some of my own digging, I found that under “Session and Startup” settings, there is an option called “Launch GNOME services on startup” listed under Compatibility.

GNOME Compatibility XFCE

Mousing over this option shows that disabling it will prevent Gnome Keyring from launching.  This will do away with our Gnome Keyring for good!

Posted in: How-To's, Musings / Tagged: Gnome, gnome-keyring, Linux, Precise, XFCE, Xubuntu

Receiving RSS Updates Via Email

March 25, 2013 6:55 PM / 2 Comments / Kirk Schnable

Rss_Shiny_Icon.svg

If you’re like me, you rely on your email for everything in your life.  My email delivers my latest Facebook notifications, Nagios warnings, text messages (thanks to Google Voice), and oh I guess email too.

I have push email notifications on my mobile devices, as do a lot of people.

Some websites offer RSS feeds of information which is important to you, but don’t offer an option to receive an email.

Yes, you could set this up for any RSS feed, but this quick guide will focus on setting up email notifications for Reddit comment responses and Reddit messages.

Another interesting application for this might be to receive emails when your favorite Podcasts are updated, or if you want to get an email when your favorite blog posts a new update.

Reddit is a very real-time social website, and having instant notifications of events on Reddit could be very useful, however since Reddit doesn’t even require an email address to register, they’re not offering the functionality.


What You’ll Need:

  • An RSS feed to subscribe to.
  • An email address to send the notifications to.
  • A Linux server which is always online, which you can create cron jobs on.


Let’s Begin
This is the only part of this guide which requires root access to the server.  We will be using RSS2Email, which is a free program available for Linux.  If you are using Ubuntu, it is right in the repositories for you.

If you do not have root access to your server, but you do have SSH access, it may still be possible to use this program if you compile it yourself.  You can get the source code here.

sudo apt-get install rss2email


Setting Up RSS2Email
The setup is mind-numbingly easy!  If your email address is you@example.com, and your RSS feed link is http://www.reddit.com/message/inbox/.rss?feed=123foo456bar789&user=MyAwesomeUsername, you could use this syntax to set up your feed.

r2e new you@example.com
r2e add http://www.reddit.com/message/inbox/.rss?feed=123foo456bar789\&user=MyAwesomeUsername
r2e run

Important: Reddit RSS feeds for your Inbox, etc, have an ampersand (&) before your username.  If you do not escape this ampersand by putting a slash in front of it (\&) your feed will not work!

On The First Run, you may receive a high volume of email.  In fact, it was enough to cause my sendmail server to exceed its rate limit and throw a ton of email to the deferred queue.  But, it did eventually all send.  A lot of the first emails will be old RSS data you have already seen before.  After that, on subsequent runs, you will only receive updates.


Where Can I Find My Reddit Inbox Feed Link?
If you login to Reddit, and go to Preferences, you’ll find an “RSS Feeds” on the top of the page.  The direct link is https://ssl.reddit.com/prefs/feeds/.


Using RSS2Email
You can very easily add and delete feeds from your R2E configuration.

Add new feeds the same way you added the first one:  r2e add http://www.feedwebsite.com/feed

Delete old feeds by running r2e list, then r2e delete # where # is the number corresponding to the feed you want to delete.


Scheduling RSS2Email
Obviously, you will only receive updates when r2e is run manually.  So, an easy way to receive routine updates is to cron the command.

crontab -e

To receive updates every 10 minutes, add a line like this to your crontab.

*/10 *  * * * /usr/bin/r2e run

To receive updates every 1 minute, add a line like this to your crontab.

* *  * * * /usr/bin/r2e run


You’re Done!
You should now receive emails at your designated time intervals when the RSS feed has new updates!

Posted in: How-To's, Musings / Tagged: crontab, email, reddit, rss

Linux Vinyl Plotting With A Gerber enVision Plotter

January 13, 2013 7:00 PM / Leave a Comment / Kirk Schnable

I recently had the opportunity to work with an older Gerber enVision plotter from a township.  I had major difficulties getting the old version of Omega working with their USB licensing stick, and I knew that getting anything like this working on Windows without proper licensing would be an inadvisable, and rocky road ahead.

I decided to look into open source solutions, and I found out that Inkscape can do vinyl plotting with an extension called InkCut.

This tutorial will attempt to comprehensively explain how I got this working.  I am by no means an expert, but I found very limited web resources out there on this topic, and I am hopeful that someone will eventually stumble on this article and find it useful.

Background
A simple, free, and open source solution to an expensive and complex problem: How do we plot stuff with our vinyl plotter?

Assumptions
This tutorial will assume that you have some prior experience with the Linux terminal and the Linux desktop.  On my test computer, I was working with a clean installation of Ubuntu 12.04 (12.04.1) LTS.  However, any Ubuntu or Debian flavor should be acceptable.  I am also assuming you have an older Gerber enVision series plotter.  If this is not the case, I imagine most of these instructions will apply fairly well to any kind of vinyl plotter.

The Plotter
Here are some photos of the Gerber enVision plotter I was working with.

2013-01-01 13.20.33

2013-01-01 13.20.42


The plotter interfaced with the computer using a serial connection.

Ubuntu & This Plotter
In order to establish proper communications between the computer and the plotter, I had to ensure some things were true.  I reset my plotter to the factory default settings, which resulted in a condition where I could assume this about my serial connection:

Baud: 9600
Data Length: 8
Parity: None
Stop Bit: 1

In order to ensure communication with non-root users, I took a questionable approach, and I decided to:

chmod 777 /dev/ttyS0

This did not need to be a very secure environment (we didn’t even password protect the workstation’s desktop) so I figured this would be a reasonable approach, rather than troubleshooting why CUPS was getting permission denied errors while printing to the serial port.

Configure The Plotter In CUPS
To install this plotter in CUPS, you’ll want to open up your Printer configuration area from the System menu.

Click “Add” to add a printer.

CUPS Add A Printer

If you don’t have the option for “Serial Port #1”, then use the Device URI “serial:/dev/ttyS0“.

Serial Printer


You will want to select Generic as the make of printer.

Generic Printer


Then, select “Raw Queue”  This will work with InkCut providing the HPGL instructions.

Generic Printer - Raw Queue

Obviously, it doesn’t matter what you name your plotter, or what description you give it, just give it something that makes sense.

Finalize Printer Settings

Install Inkscape

Next, we want to install Inkscape.  You can do this from Apt on Ubuntu, as such:

sudo apt-get install inkscape

Once you’re done with the installation, start Inkscape for the first time.  This will create blank default configuration folders in your profile which are necessary for the next step.

Inkscape


Then, go ahead and close Inkscape, and move on to installing InkCut!

Install InkCut
You can download the latest version of InkCut from their website.  At the time of this writing, the version is 1.0, and can be found here.

Once you’ve downloaded InkCut, go ahead and extract the file using this command.  It will put the files right where they need to be for you!

tar -xzvf InkCut-1.0.tar.gz -C ~/.config/inkscape/extensions/

Now, when you start Inkscape, you should see InkCut on the Extensions menu, under Cutter/Plotter.

InkCut

Screencast How-To’s
 I have also created some screencasts to explain how to set up the document for your plotter, as well as how to plot some basic text.

Document Setup – Screencast
(Download OGV)

Let’s Plot Some Text! – Screencast
(Download OGV)

Remember, when plotting your text, you need to make sure your objects are converted to paths, by highlighting your text and going to Path > Object To Path.  You also want to make sure your paths aren’t grouped, by right clicking each block of text and clicking Ungroup.

Then you should be good to go to Extensions > Cutter/Plotter > InkCut v1.0 and start plotting!

Posted in: How-To's, Musings / Tagged: InkCut, Inkscape, Linux, Plotter, Vinyl Cutting

Installing Zimbra Collaboration Suite On Ubuntu 12.04

January 12, 2013 9:54 PM / 20 Comments / Kirk Schnable

Background
Zimbra Collaboration Suite is a fantastic email and collaboration solution made by VMware.   Zimbra is my email server solution of choice, because it’s very easy to setup, and the features you get are unmatched by other open source email solutions.  Ubuntu 12.04 is the current Ubuntu LTS, which will be supported for servers until 2017, so this is a great time to use it on a server you don’t want to have to take offline for frequent updates, like a mail server.

How is Zimbra different from SquirrelMail or RoundCube?
Popular open source solutions for webmail are SquirrelMail and RoundCube, which interface with an existing IMAP \ SMTP server to provide webmail access.  Zimbra is a fully integrated mail solution, which sets up a POP, IMAP, and SMTP server, and provides HTTP and\or HTTPS webmail out of the box.  Zimbra also provides a desktop AJAX, desktop HTML, and mobile HTML access option set.  No matter what device you’re on, you can access your webmail in a friendly way.

Other Features of Zimbra
Zimbra offers a number of other features, such as:

  • Address Book
  • Calendar
  • Tasks Management
  • File\Document Briefcase
  • File\Document\Folder Sharing
  • Incoming Email Filtering\Antivirus
  • Social Media Integration

You can look at the official list of features, and other information, on Zimbra’s website.  This is their page on the Open Source Edition.


Installing Zimbra Collaboration Suite 8.0.2 Open Source Edition on Ubuntu 12.04
If you’ve decided that you’d like to try Zimbra Collaboration Suite, let’s get on to the installation!

Install Dependencies
These packages will be necessary for Zimbra to be installed on your system.

sudo apt-get install netcat libidn11 libpcre3 libgmp3c2 libexpat1 libstdc++6 libperl5.14 sysstat sqlite3

Download Zimbra ZCS
At the time of this writing, you can use the link in the Code box below.  As this tutorial ages, and newer versions of Zimbra are released, you will want to go to the download page and get the latest link.

wget http://files2.zimbra.com/downloads/8.0.2_GA/zcs-8.0.2_GA_5569.UBUNTU12_64.20121210115059.tgz

zcs-wget

Extract The Downloaded Archive

tar -zxvf zcs-8.0.2_GA_5569.UBUNTU12_64.20121210115059.tgz

Enter The Folder You Extracted

cd zcs-8.0.2_GA_5569.UBUNTU12_64.20121210115059

DNS Configuration
If your DNS was not setup properly, you might get an error like DNS Error resolving yourhostname.com.  There is an error which will follow regarding your MX configuration.  These errors are OK to ignore, as long as you’re not planning on using your hostname to send\receive email.  You can add properly configured domains later.

However, you do want to make sure this domain name can be resolved.  Put it in /etc/hosts for 127.0.0.1 if necessary.  If you do not do this, you will encounter an error during the final setup stage.

Run The Installer

./install.sh

Press Y and hit enter to agree to the license agreement.

ZCS-install-1


Now, if you installed all the dependencies at the start of this tutorial, you should have everything you need!

ZCS-Install-2


If you aren’t sure what you want to install, then just install the items as suggested.

zimbra-ldap – Yes
zimbra-logger – Yes
zimbra-mta – Yes
zimbra-snmp – Yes
zimbra-store – Yes
zimbra-apache – Yes
zimbra-spell  – Yes
zimbra-memcached – No
zimbra-proxy – No

When asked if you want to continue, press Y and hit enter to proceed with the installation.

ZCS-Install-3

The Zimbra installer will take care of extracting and installing the packages for you.  This part of the process might take some time, depending on the speed of your machine.


Configuration Menu
Go through all of the items on the configuration and make sure they are what you want.  I like to make sure these options are set:

Don’t stress out about the domain names too much, you can add additional domains to your email server later, very easily.

  • Common Configuration > Hostname\Ldap Master Host — Should be your server’s main domain, like mydomain.com.
  • Common Configuration > LDAP Admin Password — The administrative password for Zimbra’s LDAP Server.  Make it something you’ll remember if you ever think you’ll want to integrate anything with the built-in LDAP later.
  • LDAP > Domain To Create — Should be your server’s main domain, like mydomain.com.
  • LDAP > LDAP Root\Replication\Postfix\Amavis\Nginx\Bes Searcher Passwords — I like to change these too.
  • Zimbra Store > Admin User\Password — These will be used to login to the Zimbra Admin Area.
  • Zimbra Store > Spell Server URL — Make sure this is a web address that can be accessed, it will be used when people press Spell Check.
  • Zimbra Store > SMTP Host — Should be your server’s main domain, like mydomain.com.
  • Zimbra Store > Version Update Email Addresses — Should be an email address for an administrator.

When you’re satisfied with all of your settings, press “S” and hit enter to write your settings to the configuration file.   The default file location is fine.   Then press “A” and hit enter to apply your settings and start the server!

Zimbra will ask you to confirm the changes to your system.  Type “Yes” and hit enter.

Zimbra will now run through an installation procedure, which may take a few minutes, depending on the speed of your machine.

If all went well, Zimbra is now installed on your server.  If it didn’t, you will be given a log file location, where you can look and see what might have gone wrong.


Firewall Rules
Hopefully your server has, or is at least behind, a firewall solution.  If so, these are the ports you should definitely be unblocking for the proper use of your server.  These ports are assuming you’re running a default configuration, and you did not change your ports during the setup procedure.

Webmail: 80/tcp for standard access, 443/tcp for encrypted access.
Administration Console: 7071/tcp (can be blocked in the firewall if you only plan to do administration over VPN, locally, etc)
Aspell: 7780/tcp (Zimbra runs a spell check server on this custom port, which users will access when they press the Spell Check button on the web interface)
SMTP: 25/tcp for standard access, 465/tcp for encrypted access.
POP: 110/tcp for standard access, 995/tcp for encrypted access.
IMAP: 143/tcp for standard access, 993/tcp for encrypted access.


Accessing Your Zimbra Server
You can login to your Zimbra accounts for webmail access at your Zimbra server’s IP or DNS on the standard https port 443.  You can access your Administration Console over HTTPS using port 7071.

Point your web browser to http://your.zimbra.server.ip:7071/

Zimbra Admin Console

Once you’re logged in, your admin interface will look something like this.

Zimbra Admin 2

The Zimbra setup procedures in the web interface are very straightforward, and are up to you to play with on your own now that Zimbra is installed and working!

Posted in: How-To's / Tagged: Linux, Zimbra

Post Navigation

← Older Posts
Newer Posts →

Pages

  • About Binary Impulse
  • BashBytes

Recent Posts

  • My UBook X Linux Tablet Adventure and how I learned more than I ever thought I would need to know about accelerometer drivers
  • Migrating Proxmox Hypervisor’s Boot Volume ZFS Mirror To New (Smaller) Disks
  • OPNsense Performance Tuning for Multi-Gigabit Internet
  • Reddit Deplatforms Popular Microsoft Software Swap Subreddit
  • Comcast Upgrades Gigabit Pro from 3Gbps to 6Gbps!
July 2025
M T W T F S S
 123456
78910111213
14151617181920
21222324252627
28293031  
« Apr    

Recent Comments

  • jasonistre on OPNsense Performance Tuning for Multi-Gigabit Internet
  • Nick on OPNsense Performance Tuning for Multi-Gigabit Internet
  • Kirk Schnable on OPNsense Performance Tuning for Multi-Gigabit Internet
  • nick on OPNsense Performance Tuning for Multi-Gigabit Internet
  • Eric on My UBook X Linux Tablet Adventure and how I learned more than I ever thought I would need to know about accelerometer drivers

Categories

  • How-To's
  • Humorous
  • Musings
  • Newsworthy
  • Other

Meta

  • Register
  • Log in
  • Entries feed
  • Comments feed
  • WordPress.org
© Copyright 2025 - Binary Impulse
Infinity Theme by DesignCoral / WordPress